 Our summer yarns
 Perfect for summer: the Zoe shirt
 Looking for a home for your needles? You can find the needle bags here
 You can find all Maschenfein pattern here
Sometimes it is not there. THE color that you would like to have for your new project. Or you have a finished knitted piece and you don't really like the color. Maybe it's because you've knitted different batches or made a mistake with the color. Or maybe you just want to try something new or have a certain effect. No matter what your reason, dyeing would be a good option for all of them. Recently, thanks to ITO, you can also buy dyes and accessories at Maschenfein. So that you are as well prepared as possible, we give you an overview of the individual products and provide you with initial experience and tips.
Tanja already told us about it in our podcast "Just one more row" in October: ITO is also bursting with ideas. And one of them was to bring the art of Japanese dyeing to Germany.
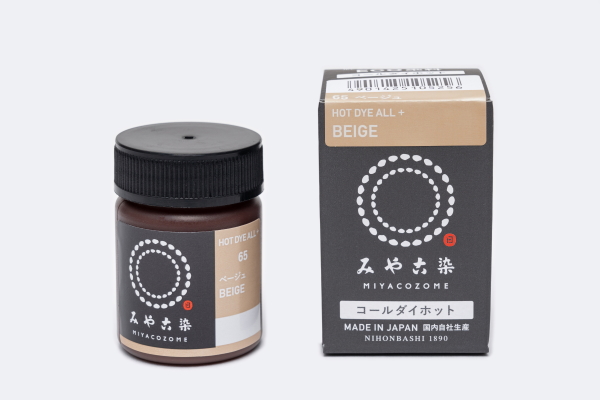
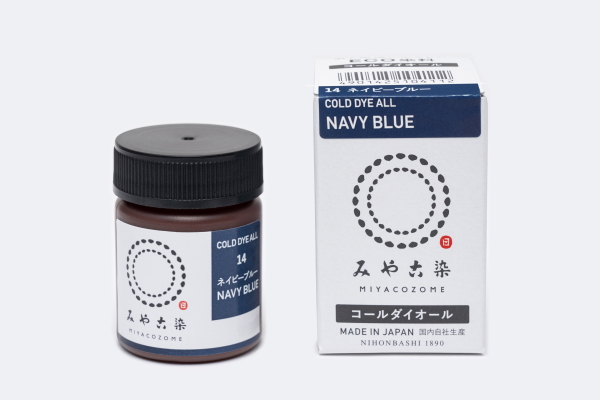
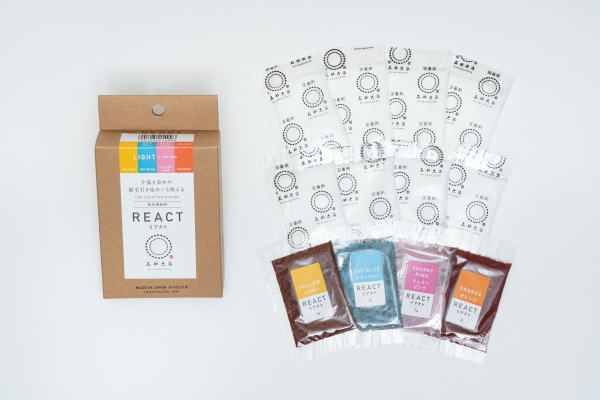
Three different variants are now available in our store: Hot Dye, Cold Dye and the React dye. For each of the dyes you will receive an English manual. You can download the German translation directly from the ITO website(here for Hot Dye, here for Cold Dye and here for the React dye).

Hot Dye Cold Dye React
Photos: © ITO Yarn
Before we delve deeper into the matter, here's a little (warning) hint and a tip: We cannot guarantee a reliable color result. When dyeing yarn - whether animal, vegetable or chemical fiber - there are simply too many imponderables. We therefore recommend that you start with a small project and knit a sample with the dyed yarn to see if the result fits the project.
Hot and Cold Dye differ - as the name suggests - in the temperature required. For cold dye, lukewarm water from the tap is sufficient; for hot dye, the water needs a temperature of 85 degrees. However, it may cool down during the dyeing process. Which one you choose depends on the desired color intensity and your material. Polyester, for example, cannot be dyed cold. With wool, on the other hand, you run a certain risk with hot dyes - but it's not impossible! React is mainly suitable for vegetable fibers (but we will show you an exception directly below ;-)) and leads to an even more intensive result. The advantage here: You can also paint fabrics, for example, or use it for batik (yes, you're doing that again now) or for Japanese shibori art (we'll explain that below as well).
Important ingredients: salt and vinegar
With Cold Dye you can dye vegetable and animal fibers as well as nylon. The colors tend to be a little lighter than if you were to hot dye. Nevertheless, on plant fibers such as cotton, hemp, linen, viscose, cupra, wood or bamboo, there is a nice color intensity. You will get brighter colors on animal fibers like silk, wool and other animal hair as well as on nylon and polyurethane. However, please note the base color of your material: If you dye colored textiles, this color will affect the result of the dyeing process. The color indicated on the package can only be achieved on white textiles.
If you are dyeing vegetable fibers, you still need salt when dyeing and should fix the result at the end. For this purpose you can get in the store the "Fixing Agent". When dyeing animal fibers, you also need vinegar. Fixing the color is not necessary. By the way: Both Cold Dye and Hot Dye are skin and environmentally friendly and are available in 28 colors each, which you can of course also mix. One can of Cold Dye (20 g) is enough to dye 250 g of yarn, knitwear or fabric. The exact quantities of water, vinegar and salt can be found in the pattern.
: © Sandra Groll
With Hot Dye you can dye vegetable and animal fibers as well as polyester. Since you do not have to maintain a constant temperature of 85 degrees, you can also dye in a bucket, for example. Similar to Cold Dye, you can achieve good color intensity on plant fibers such as cotton, hemp, linen, viscose, cupra, wood, bamboo or on animal fibers such as silk, wool and other animal hair as well as on nylon and polyurethane. On polyester, the colors will be lighter. When dyeing plant fibers, you will need salt again as well as a subsequent fixation. For animal fibers, you will need to use the vinegar bottle again. If you want to dye polyester darker, you can, for example, dye on the stove top and keep the temperature above 85°C. In addition, you can use the "D" dye. Additionally you can use the "Dye Accelorator". One can of dye (20 g) is enough to dye 250 g of wool, knitwear or fabric.
Sleeves up: Here are the step-by-step pattern
For you we have tried Hot Dye and React as dyes. Actually, it was Sandra who took the knitting needles aside at home and instead took the dyes in hand.
You will need: knitwear to be dyed, dye, decolorizer if necessary, water, vinegar or salt (depending on the base material), measuring cup, fixative if necessary (for plant fibers), bucket, wooden spoon, disposable gloves.
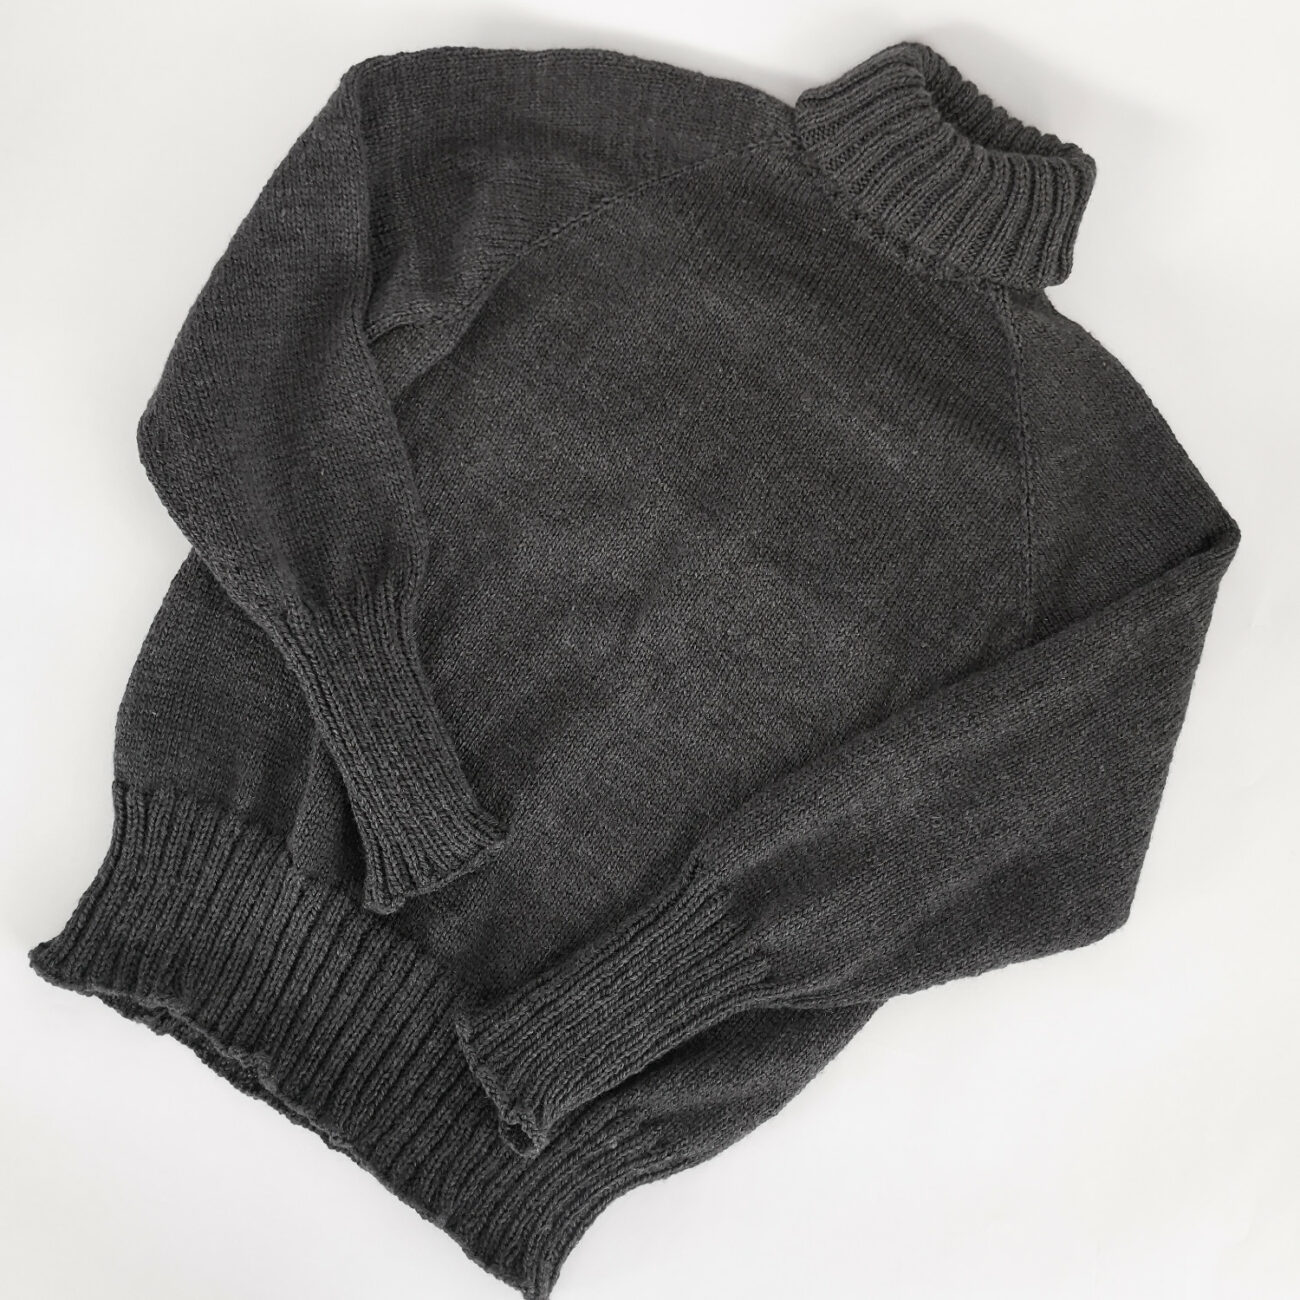
Hot Dye she used for her finished Caramel Sweater. It had a not very pretty block in the middle - a production error of the manufacturer. The fact that the colors of the individual strands were different (despite the same part), she unfortunately noticed only when knitting. And ribbing was not an option. Instead, Sandra finished the sweater and resorted to ITO dye. Please note that animal fibers can only tolerate warm water to a limited extent and can shrink. In this case, Sandra took the risk and used hot dye to get an intense color result.
Sweater with unintentional block stripes The discolored sweater
Photos: © Sandra Groll
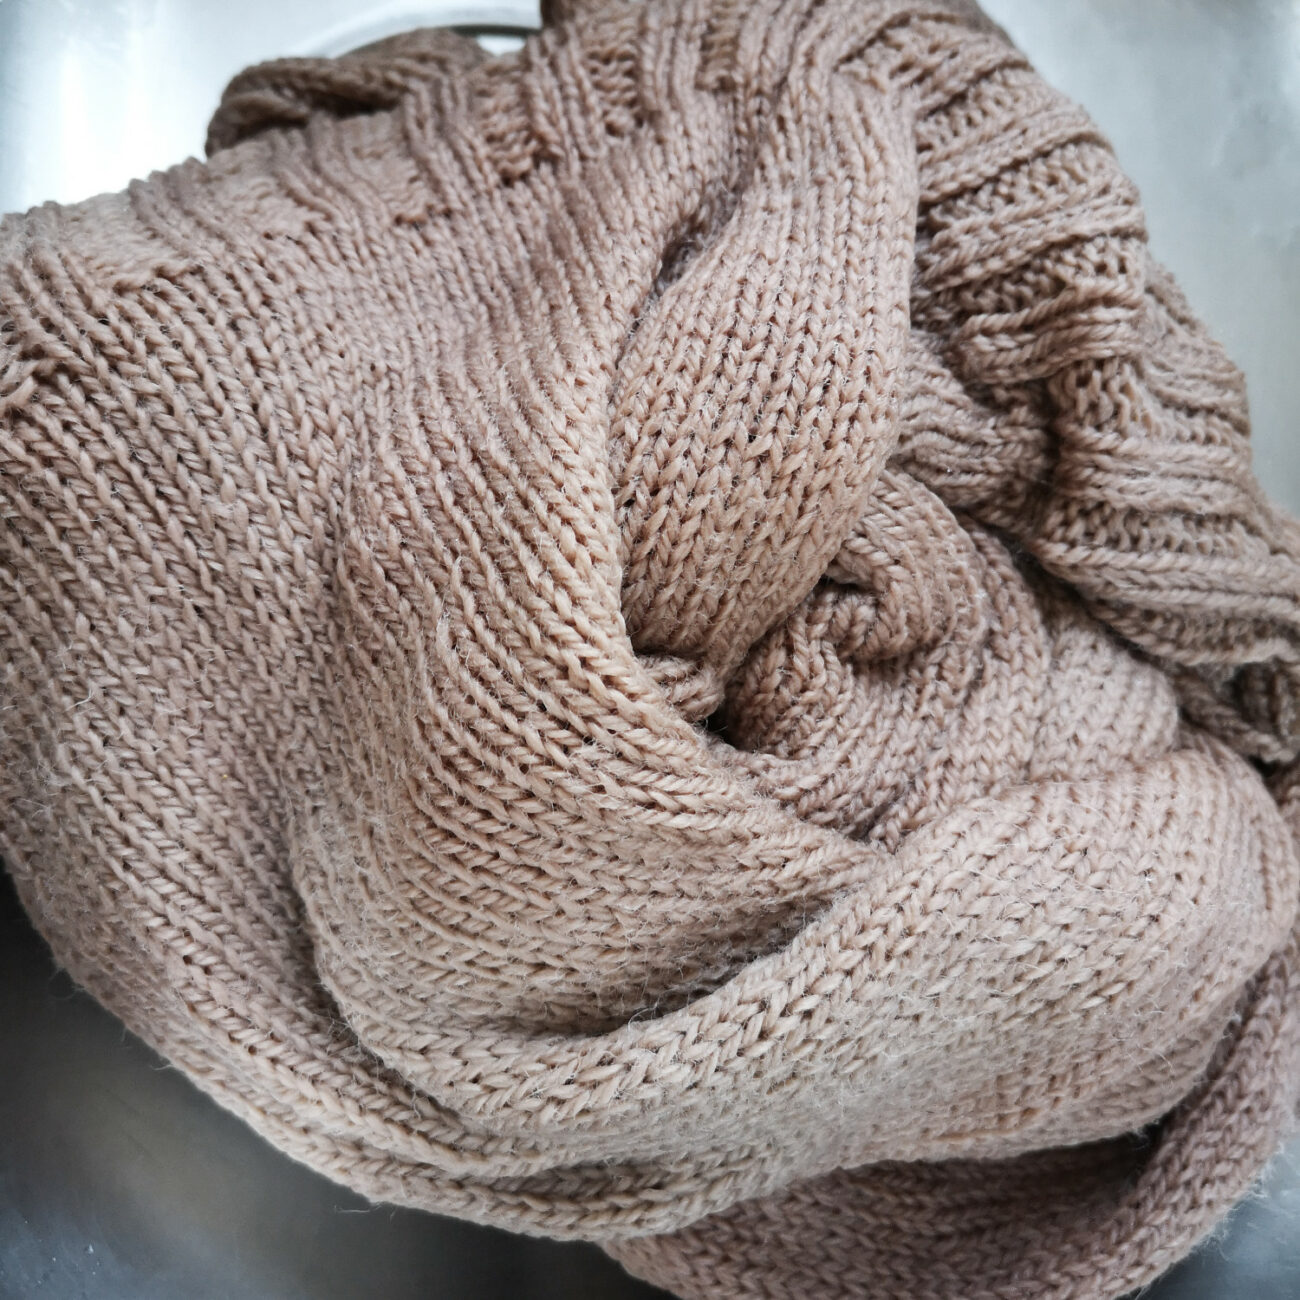
First step: decolorize the knitted piece. Because on the dark gray, dyeing would have been possible only with black to get the desired effect. You can find the appropriate products at your local drugstore. Be prepared, however, that the smell is very unpleasant during this step. Sandra then washed her sweater on the wool cycle.
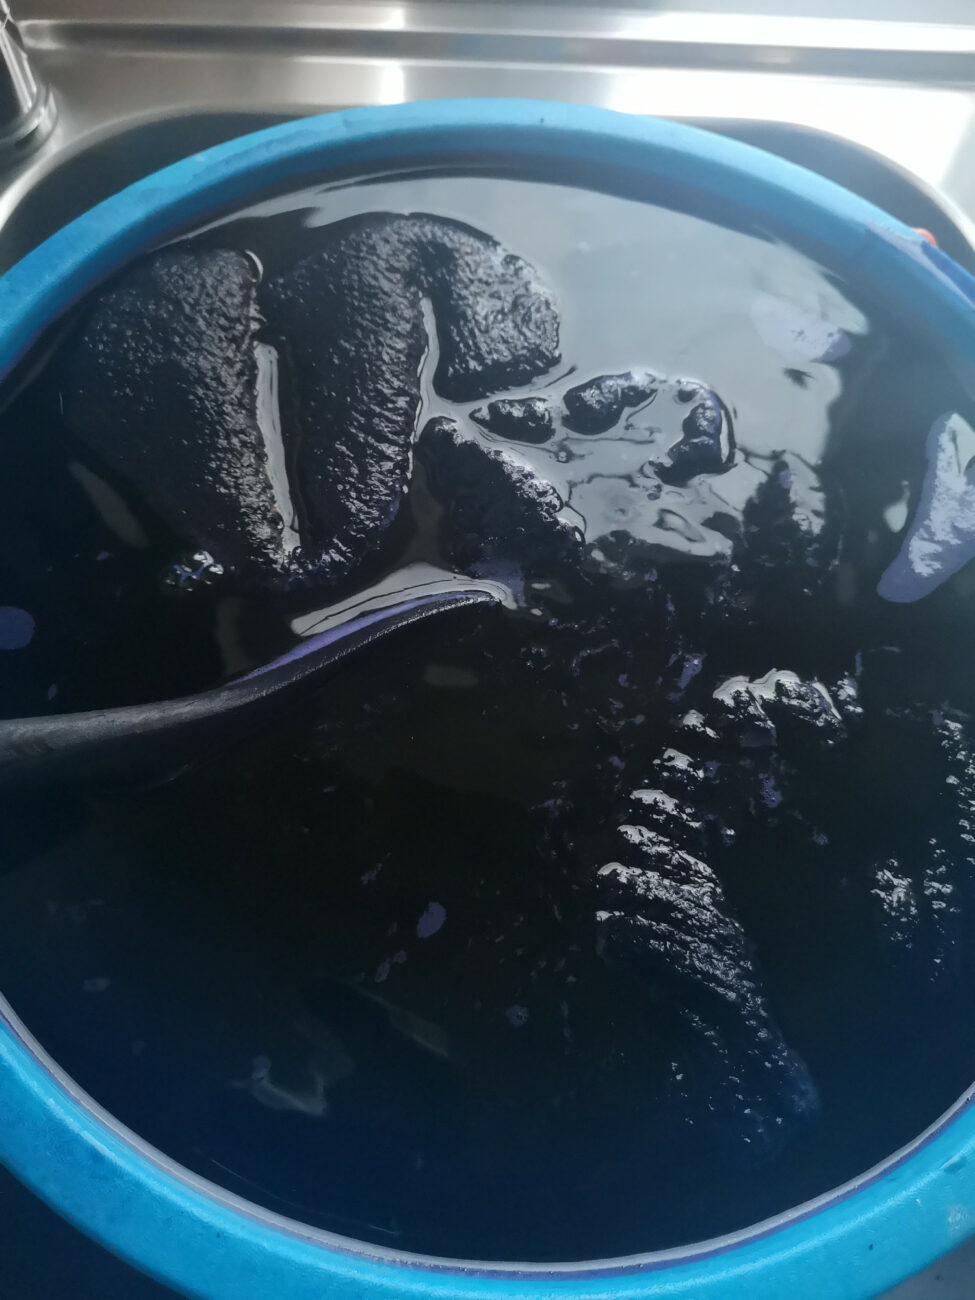
Into the dye bath... ...wash out the paint afterwards... ...and let it dry!
Photos: © Sandra Groll
Second step: Mix the dye according to the pattern. Since you do not have to keep the temperature of 85°C constant, you can dye well in the bucket.
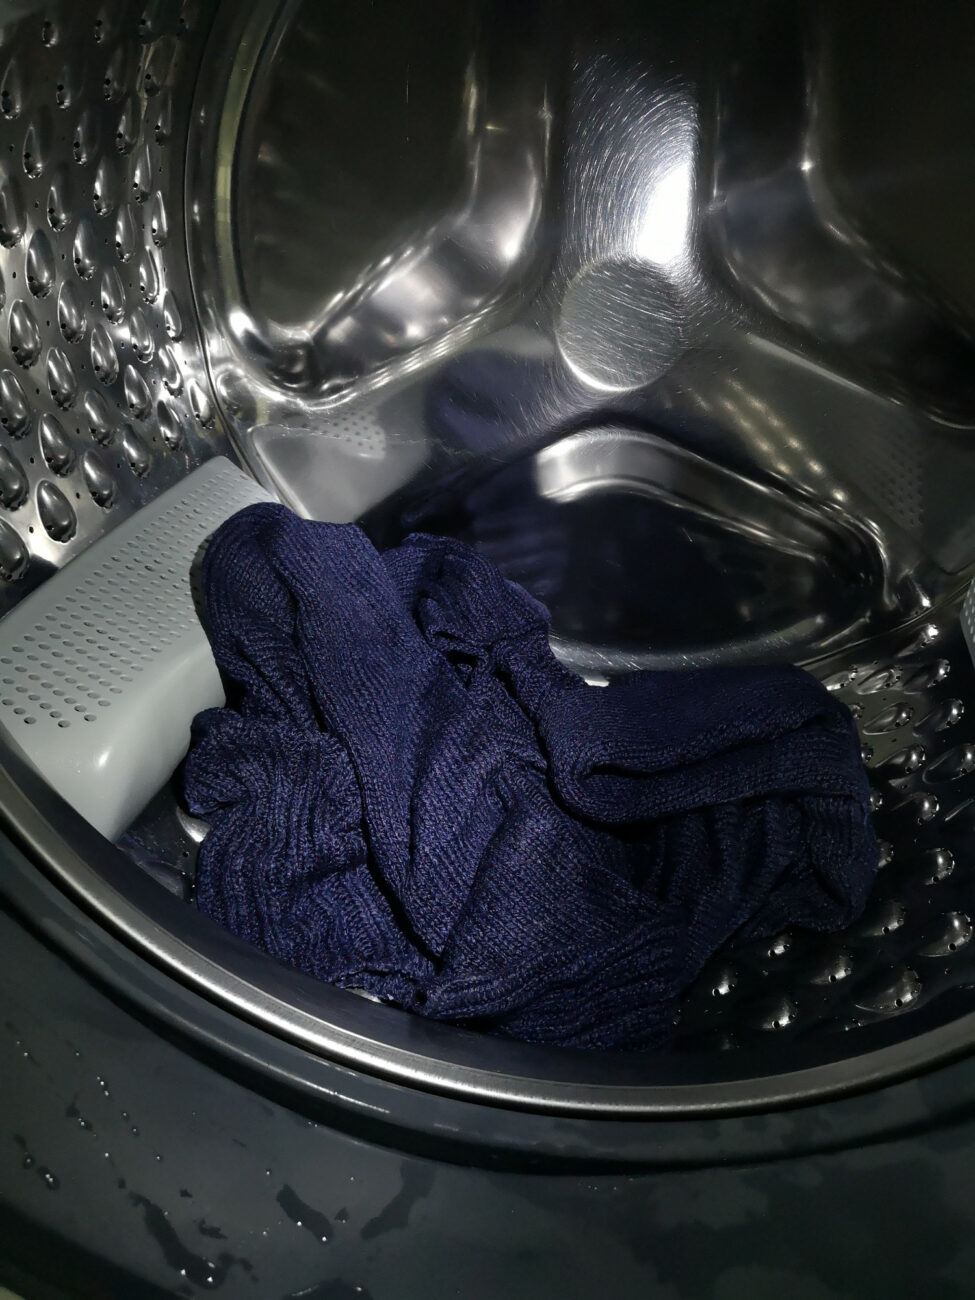
Third step: Then your knitted piece must be rinsed again until no more color flows out. Sandra washed her sweater first by hand with detergent as described in the pattern and then (additionally) put it in the washing machine again (wool wash cycle!). After that it came on the mats to dry.
Photos: © Sandra Groll
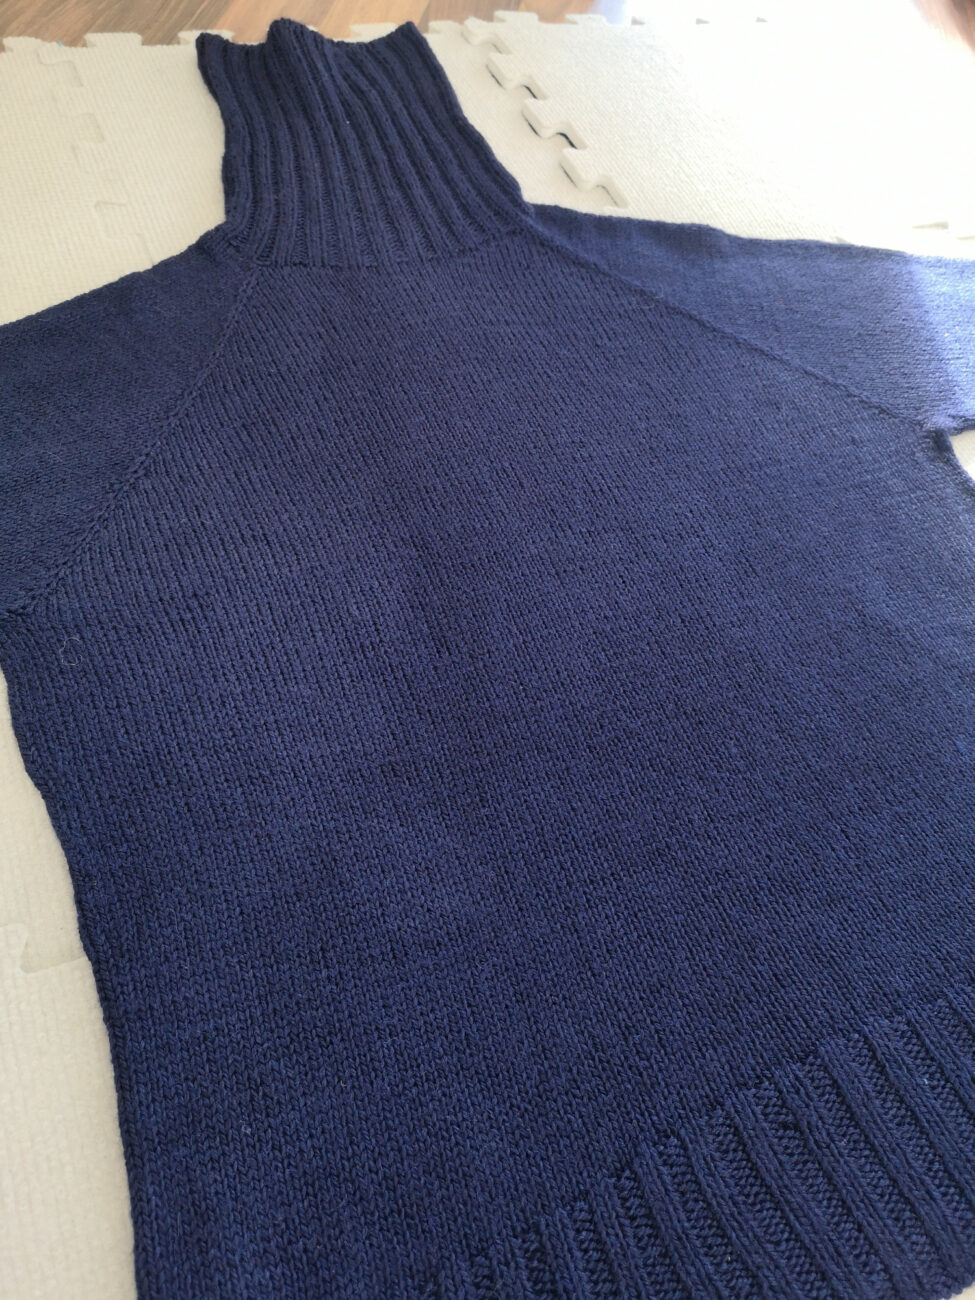
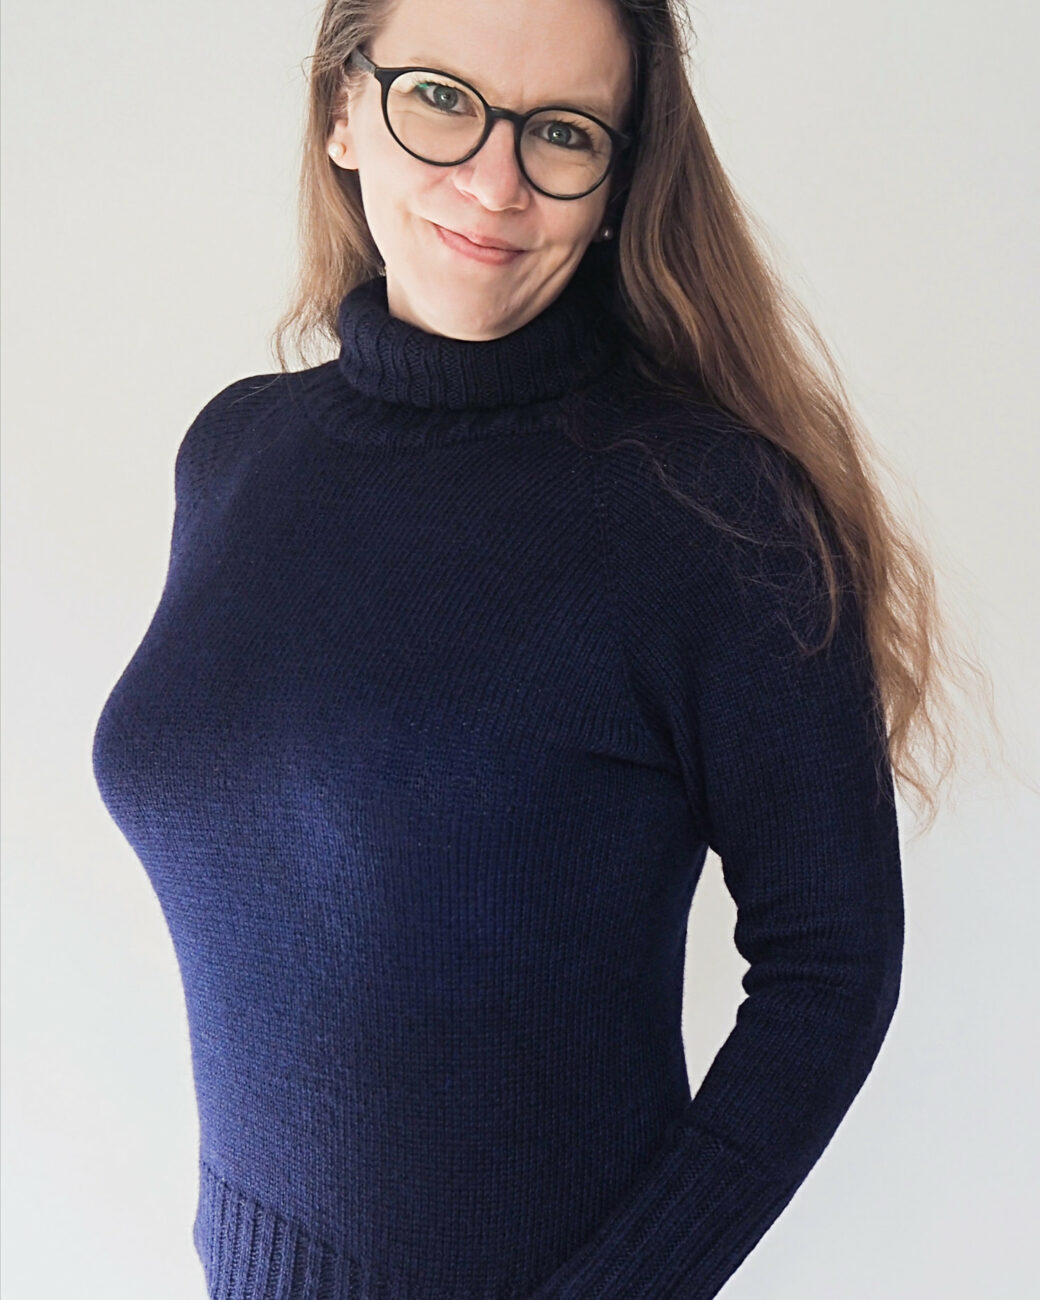
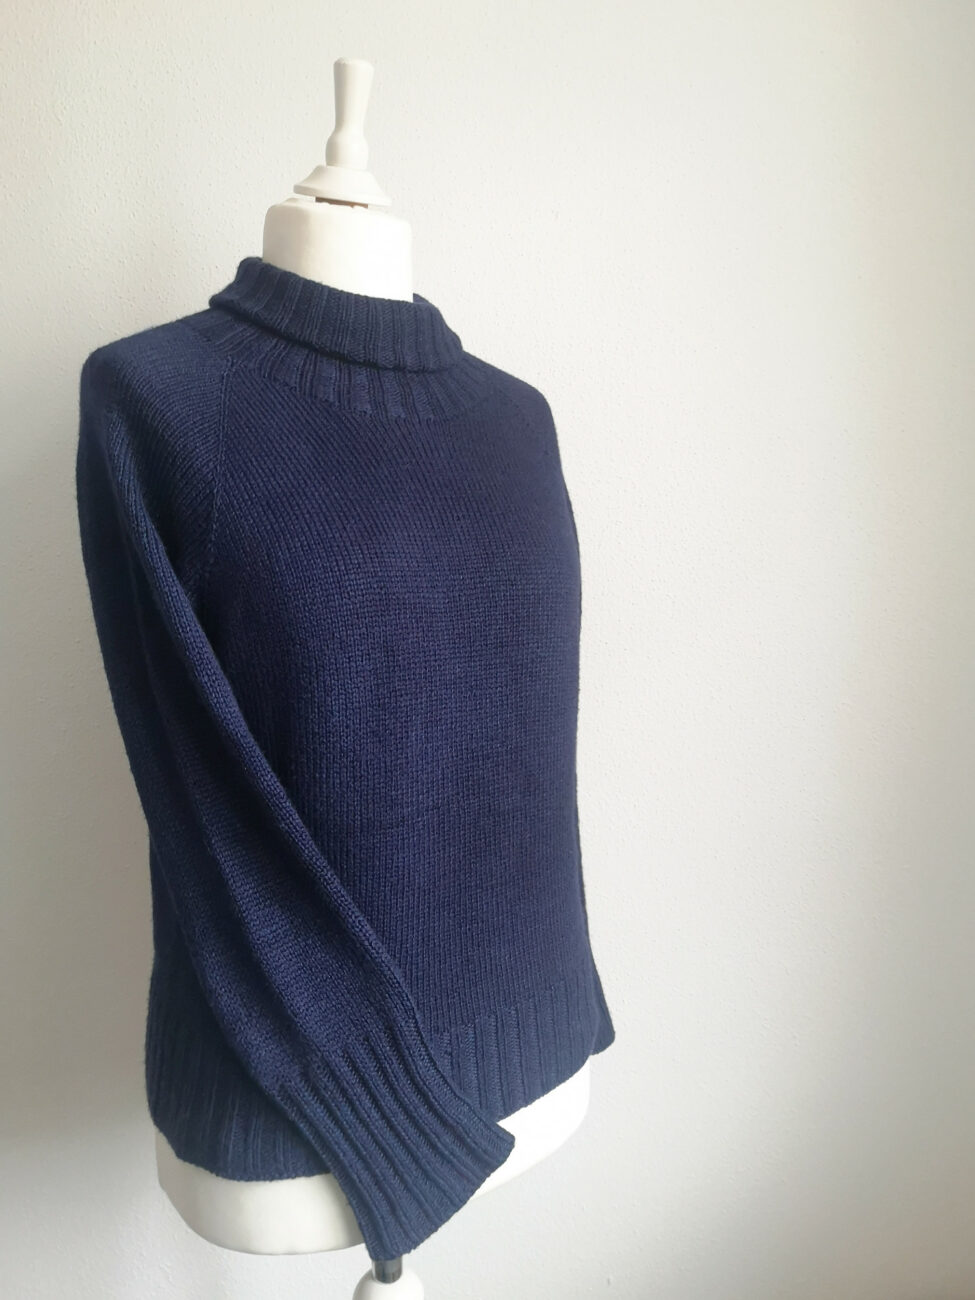
The result: an intense blue! A bit smaller the sweater has become, but still good to wear. And thus definitely not a part for the back corner of the closet (or worse).
Dye strands with React
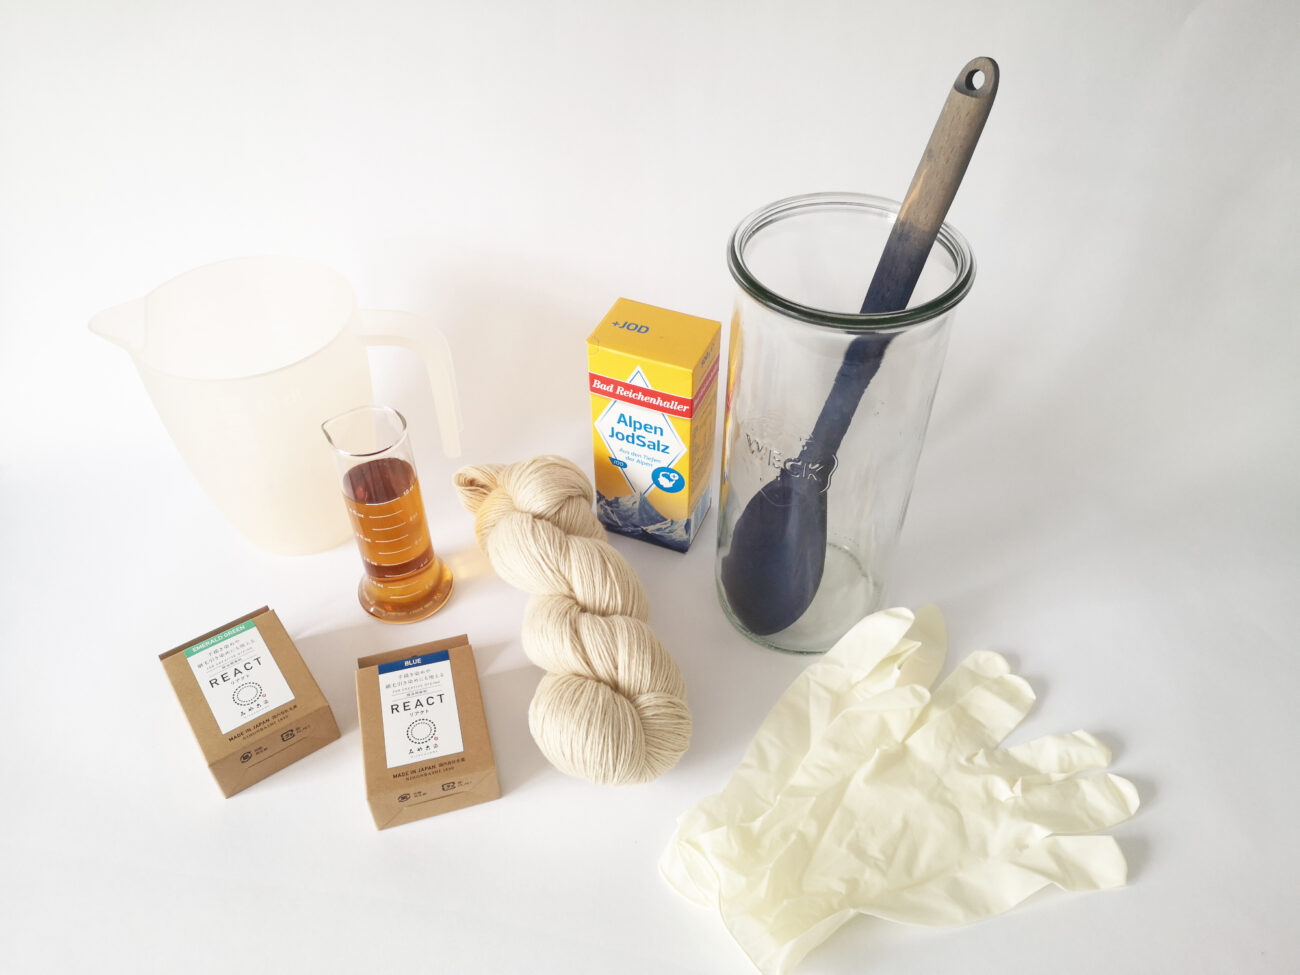
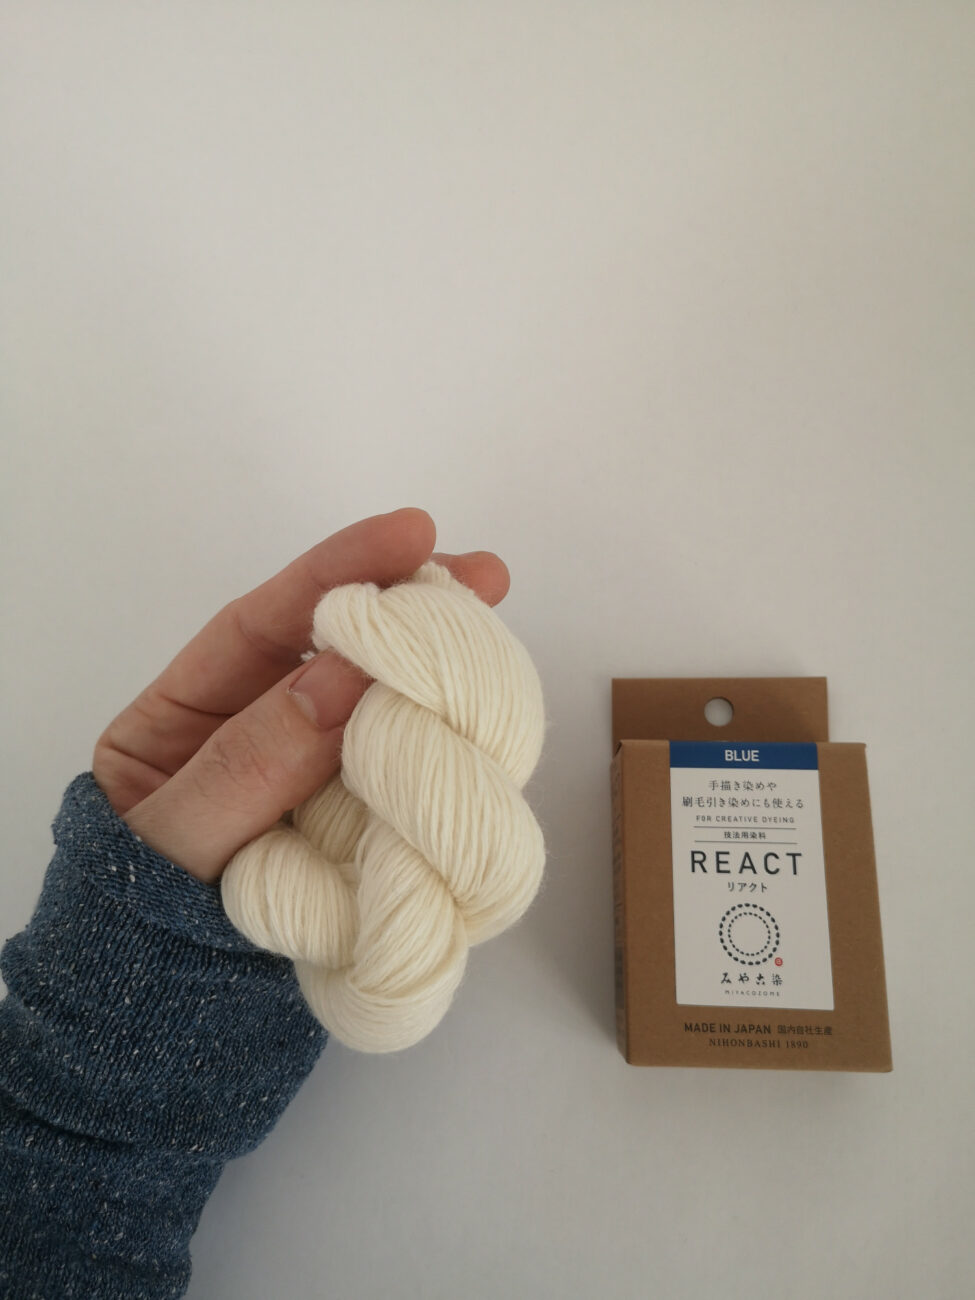
The process is a little different if you want to dye wool before knitting. For this step-by-step tutorial, Sandra dyed Rakuda in white from ITO with React blue and Rakuda in camel with React blue and emerald green.
You will need: Yarn, dye, water, salt, vinegar, measuring cup, jar or baking dish, wooden spoon, disposable gloves.

Photos: © Sandra Groll
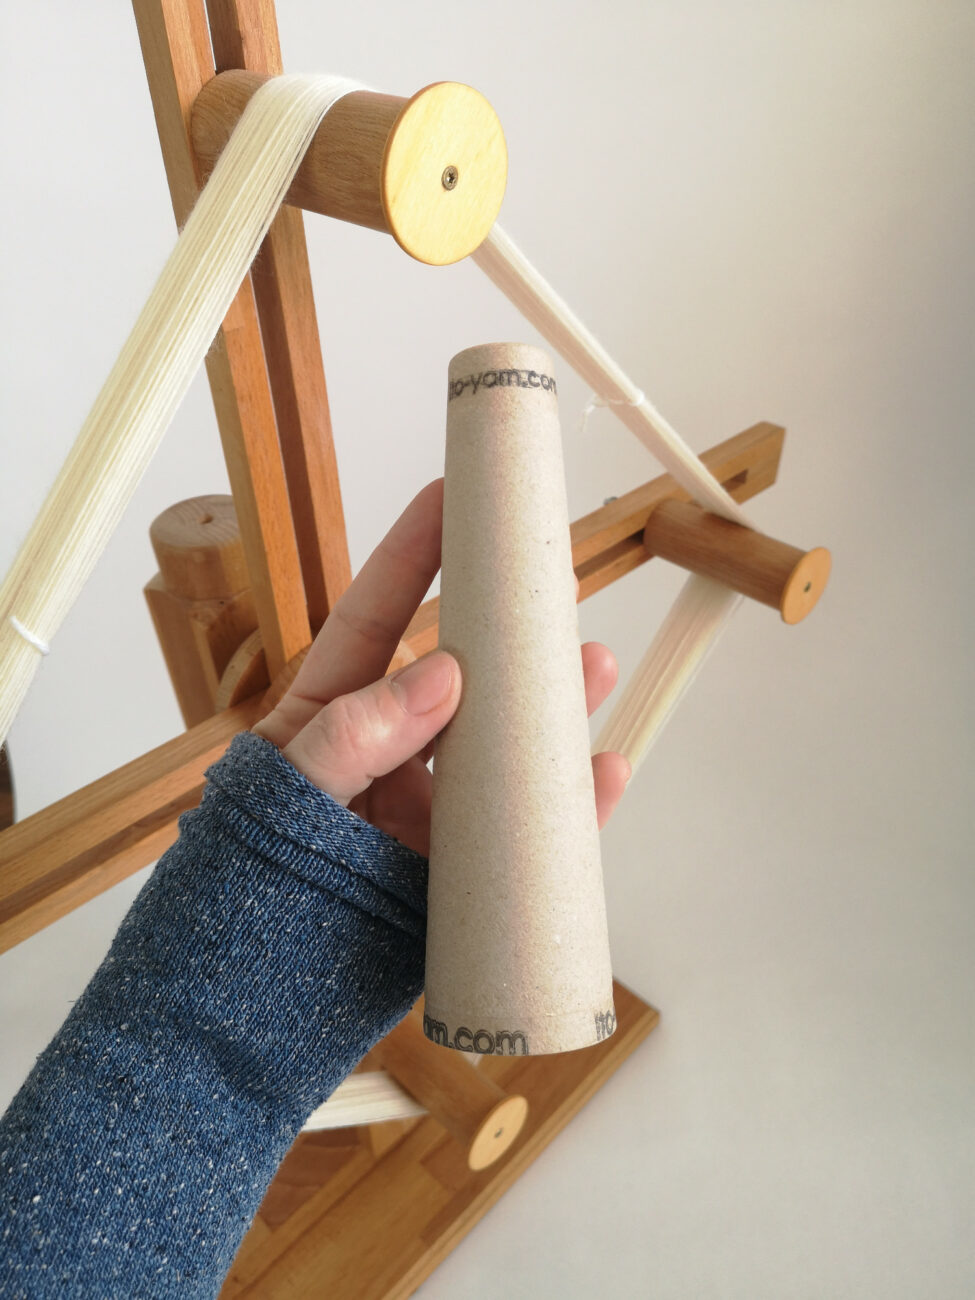
First step: Before you start dyeing (in this case with React), you need to wind the yarn into a skein. It's important to remember to use a catch loop to help you get your skein out of the dye bath after dyeing. It is also advisable to tie off the skein in several places. This prevents the threads from slipping and makes it easier to wind it into a ball again later. Including the catch loop, Sandra tied off her skein in four places. You can also tie several cones/clusters into one skein. To do this, knot the ends together.
Tip: If you lay your skein into a circle and tie it off tightly in several places (similar to batik), you will get special dyeing results!
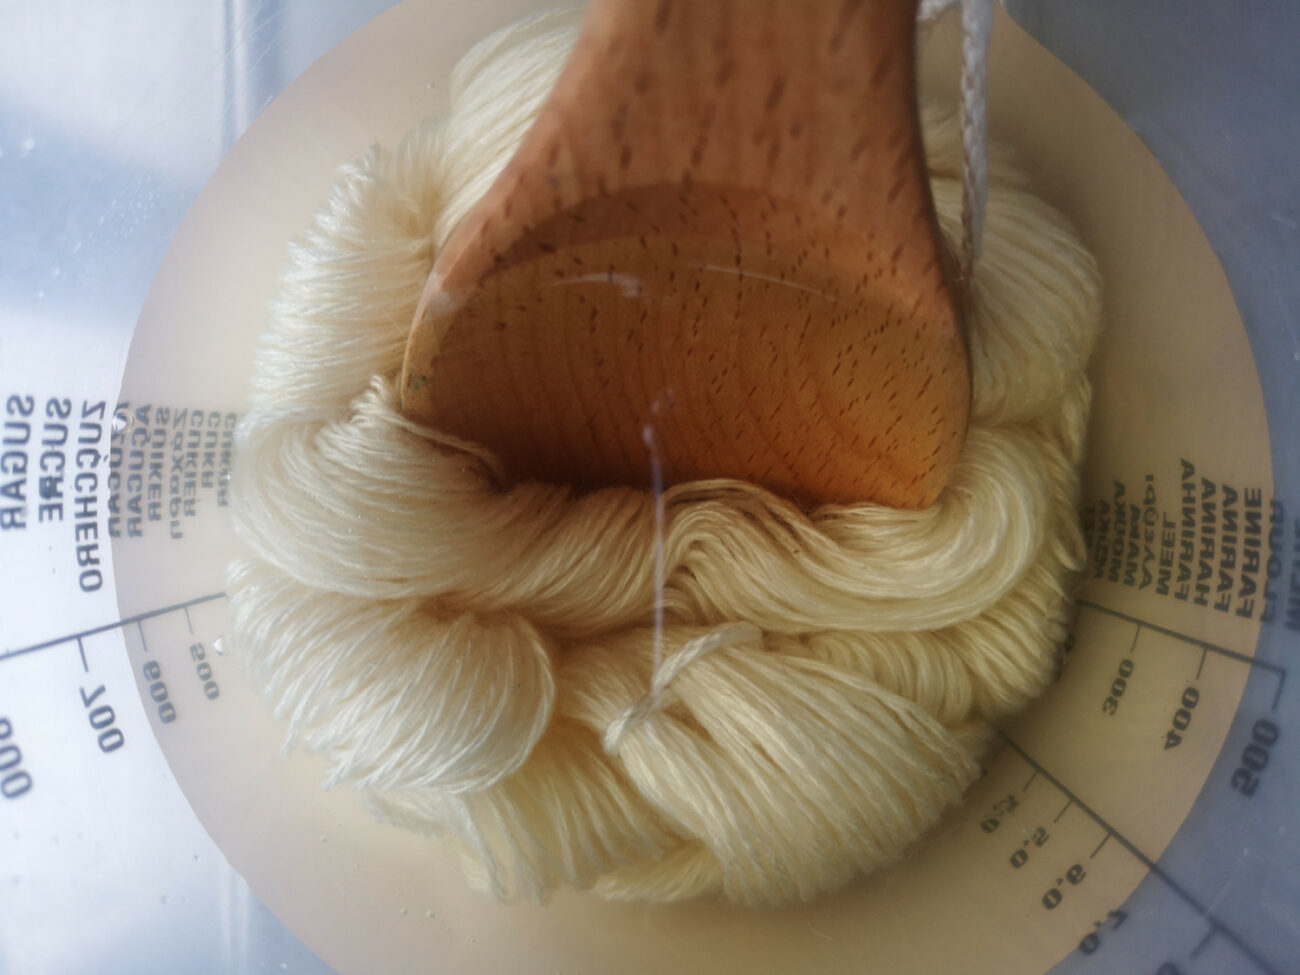
Photo: © Sandra Groll
Second step: After setting, your skein goes into a vinegar bath. Here we deviate from the ITO pattern, since React is actually intended for vegetable fibers. In this case, you just need to wash your textile and leave it wet. Since Sandra wants to dye an animal fiber, she put it in a water bath with a good shot of household vinegar.
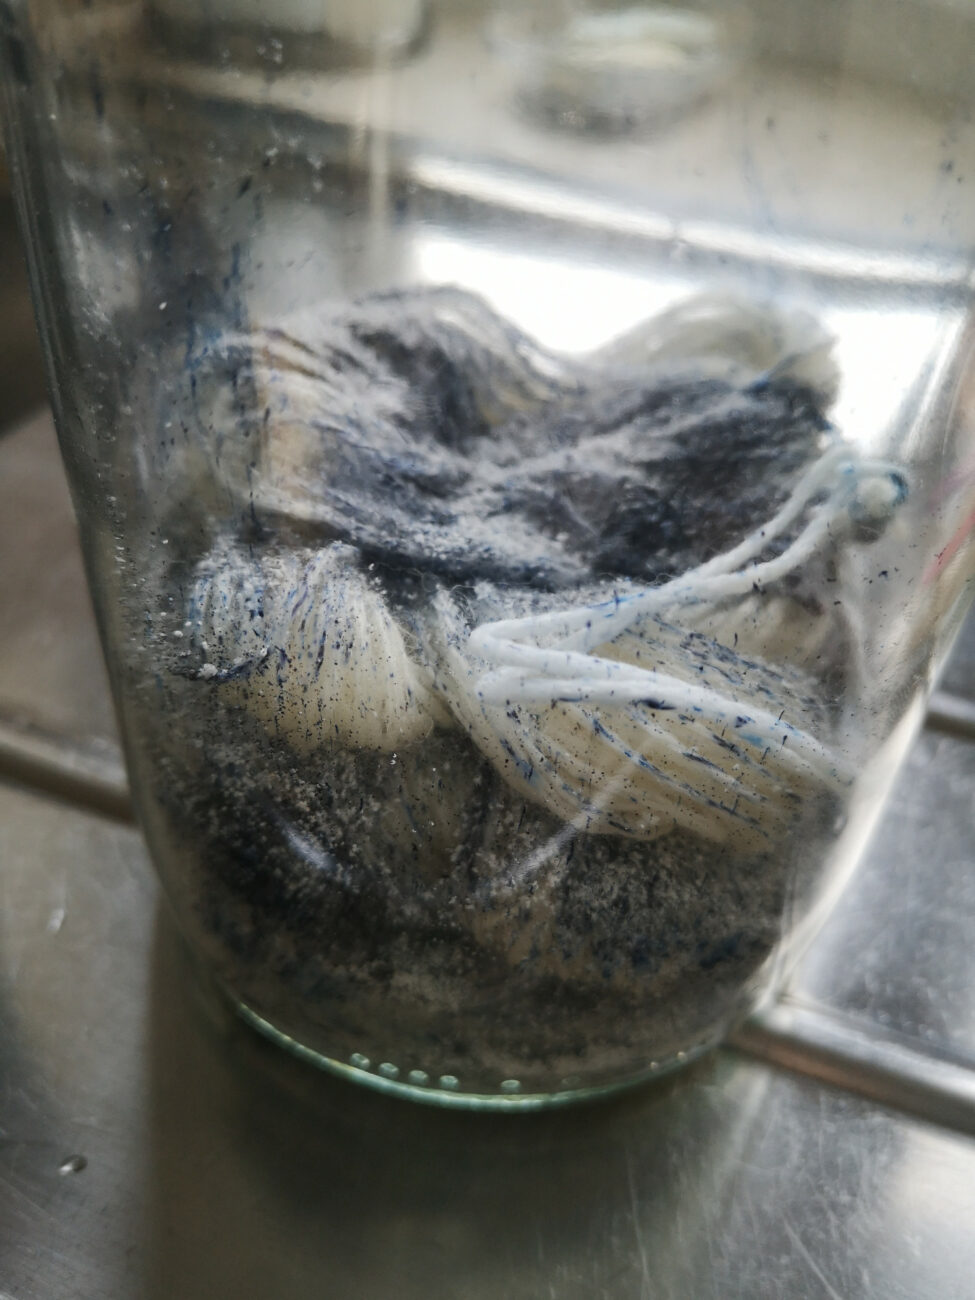
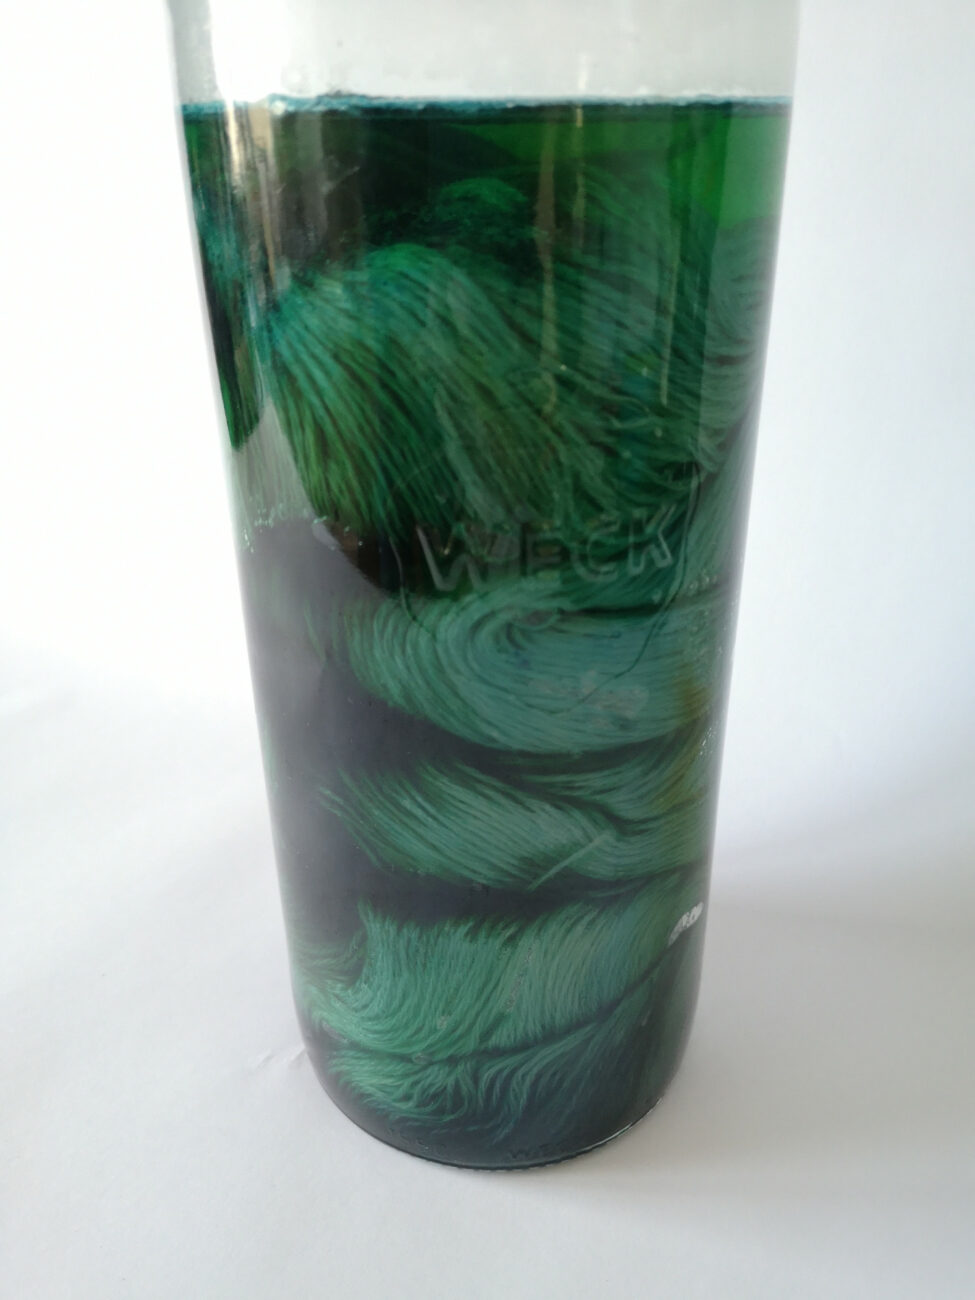
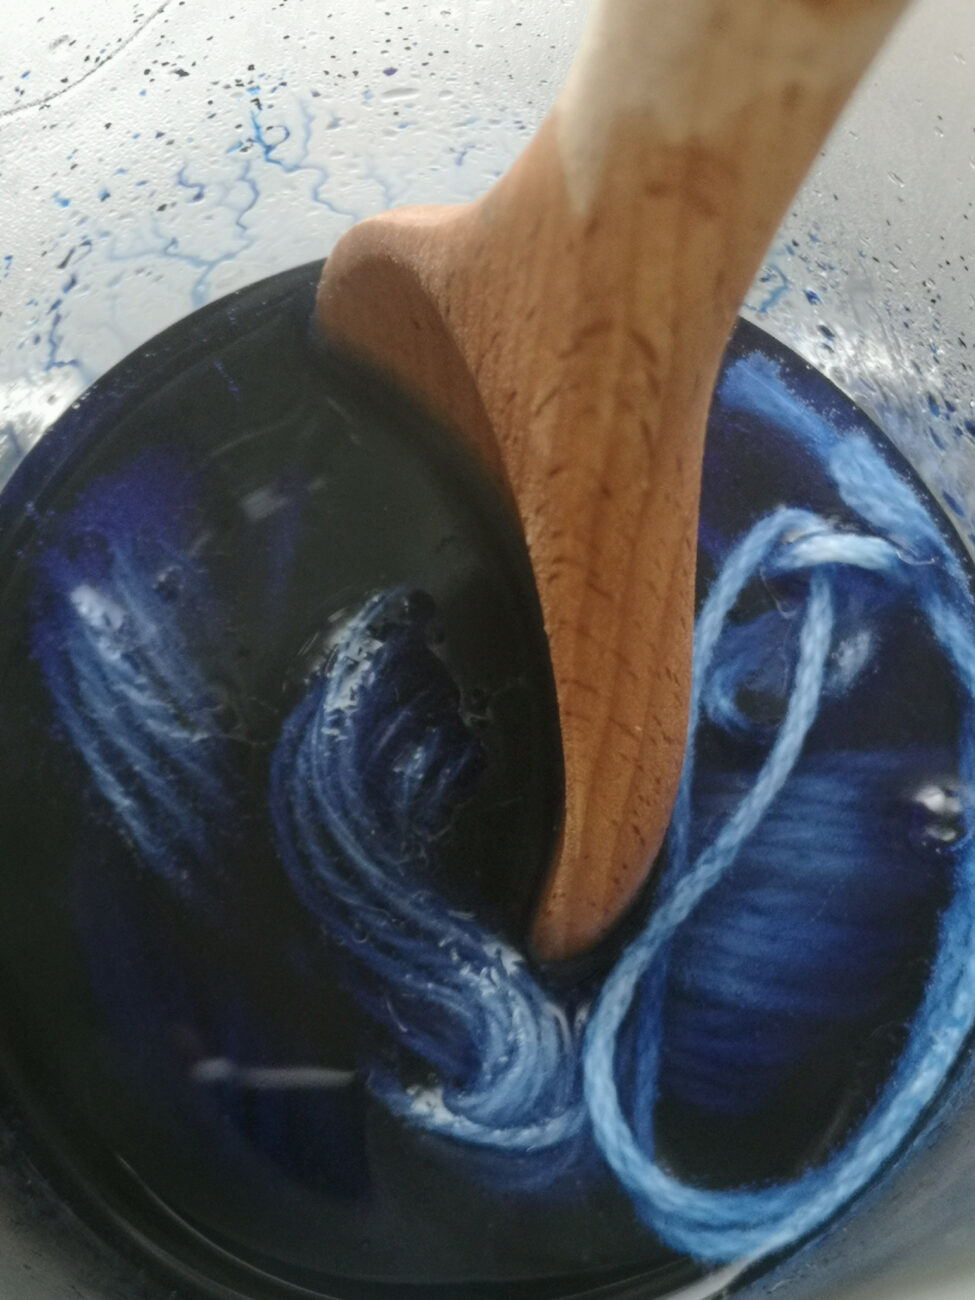
Piece by piece, the skein is... ...put into the jar alternately with coloring agent. Water is then poured over it. With the help of the wooden spoon you can hold the skein (here with React Blue) in place. But then please do not move it!
: © Sandra Groll
Third step: The wet (!) skein is now placed in a tall preserving jar. With the help of a wooden spoon, press a piece of the skein into the jar and then sprinkle some dye over it. Then again a piece of skein and again dye over it. Continue in this way until the entire skein is in the jar.
Fourth step: Now prepare your dye water. Since we're dyeing an animal fiber, we'll supplement ITO's pattern here with Sandra's knowledge from a dyeing workshop with Ute Rehner and Schachenmayr. You mix...
1 l of boiling water with 0.5 l of cold water. This way you get approx. 60°C warm water. Then add 1 tablespoon of vinegar essence OR 100 ml of household vinegar and 3 tablespoons of salt.
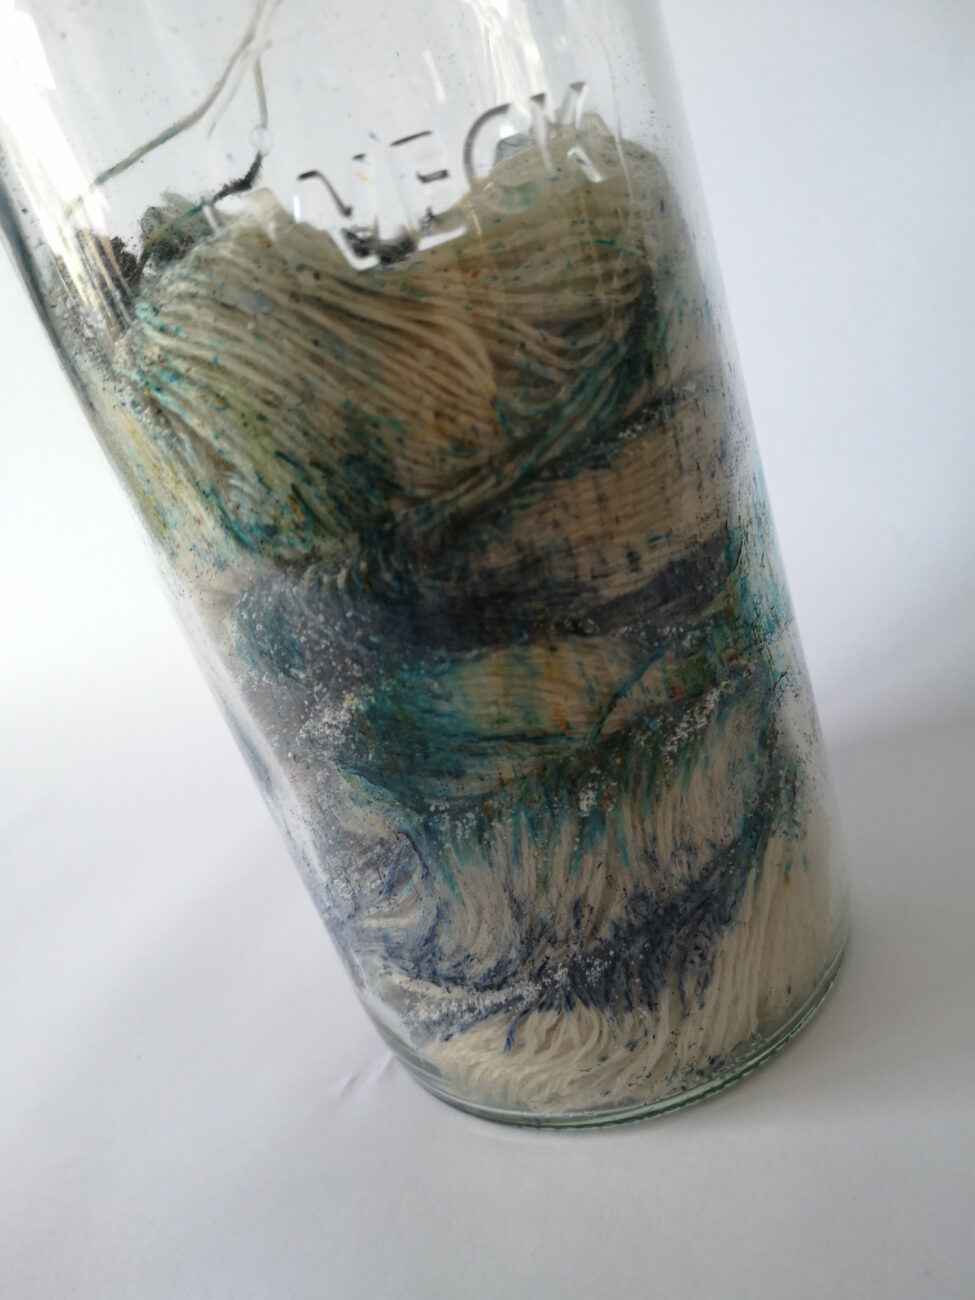
Carefully pour this mixture onto the skein. After that, do not move the glass. This is how you get the desired irregularity. Alternatively, you can place your skein(s) in a baking dish and then sprinkle the dye over it. Then carefully pour the prepared water over it as described above. Sandra put her casserole dish including the dyeing water into the oven at 60°C. Depending on the desired color intensity, leave your yarn in the dye water for 20 to 40 minutes.
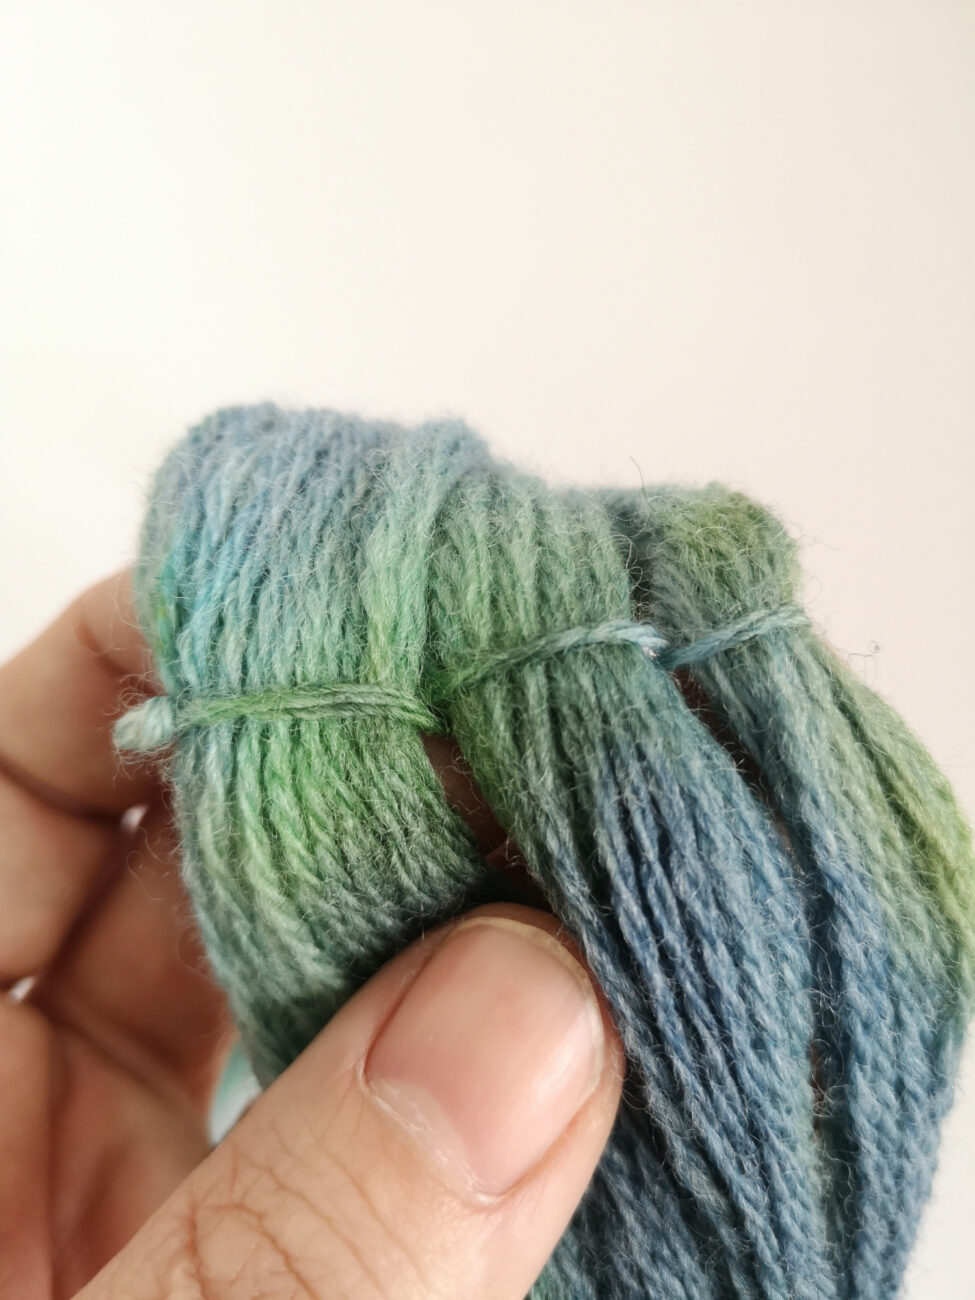
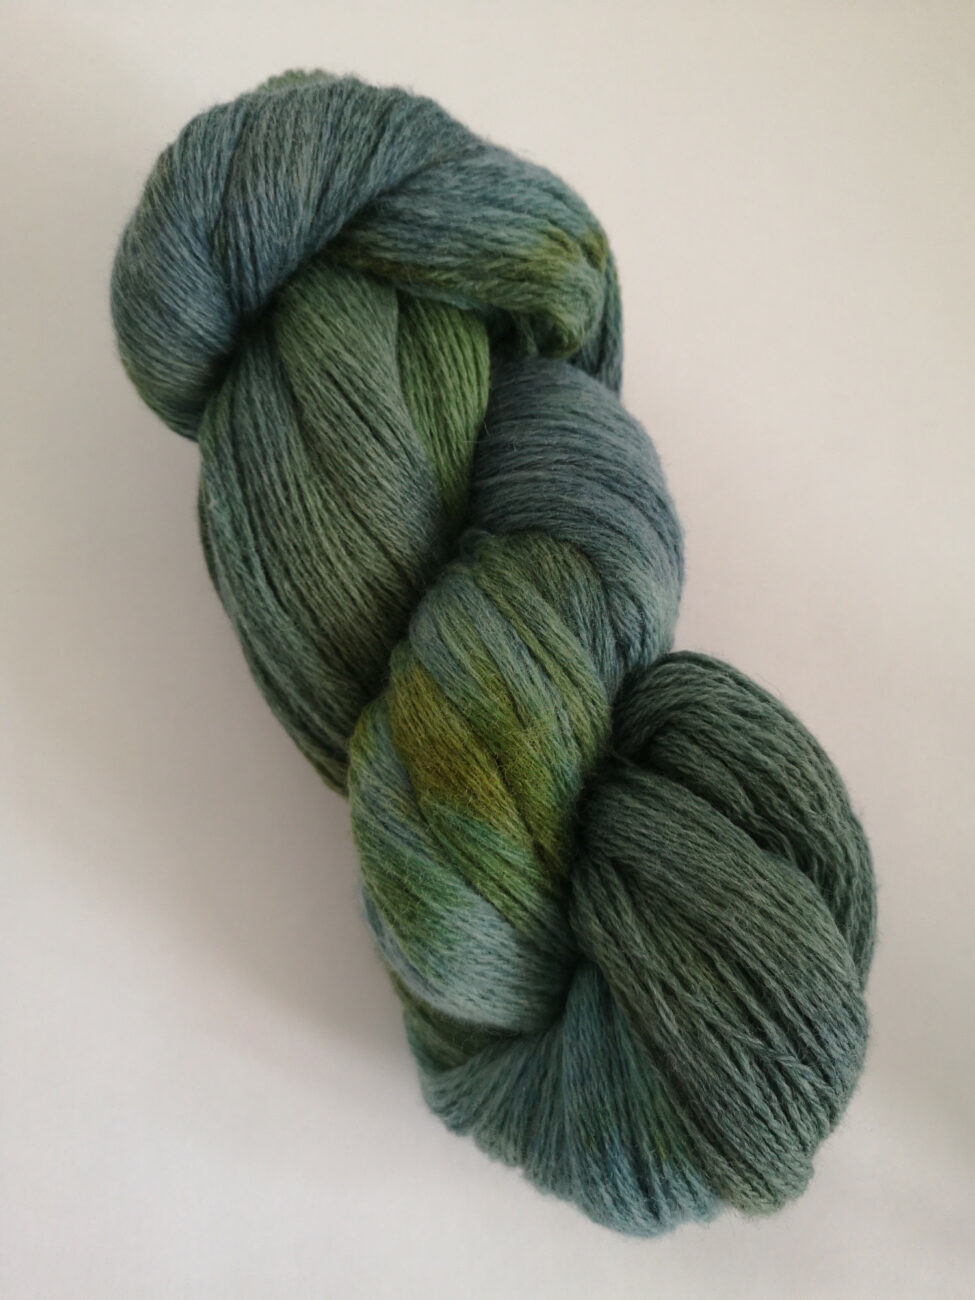
Here you can clearly see how the skein was tied off during winding. The skein finished dyed with two colors. Depending on the technique, you will get more or less strong color gradients. The skein dyed with React blue.
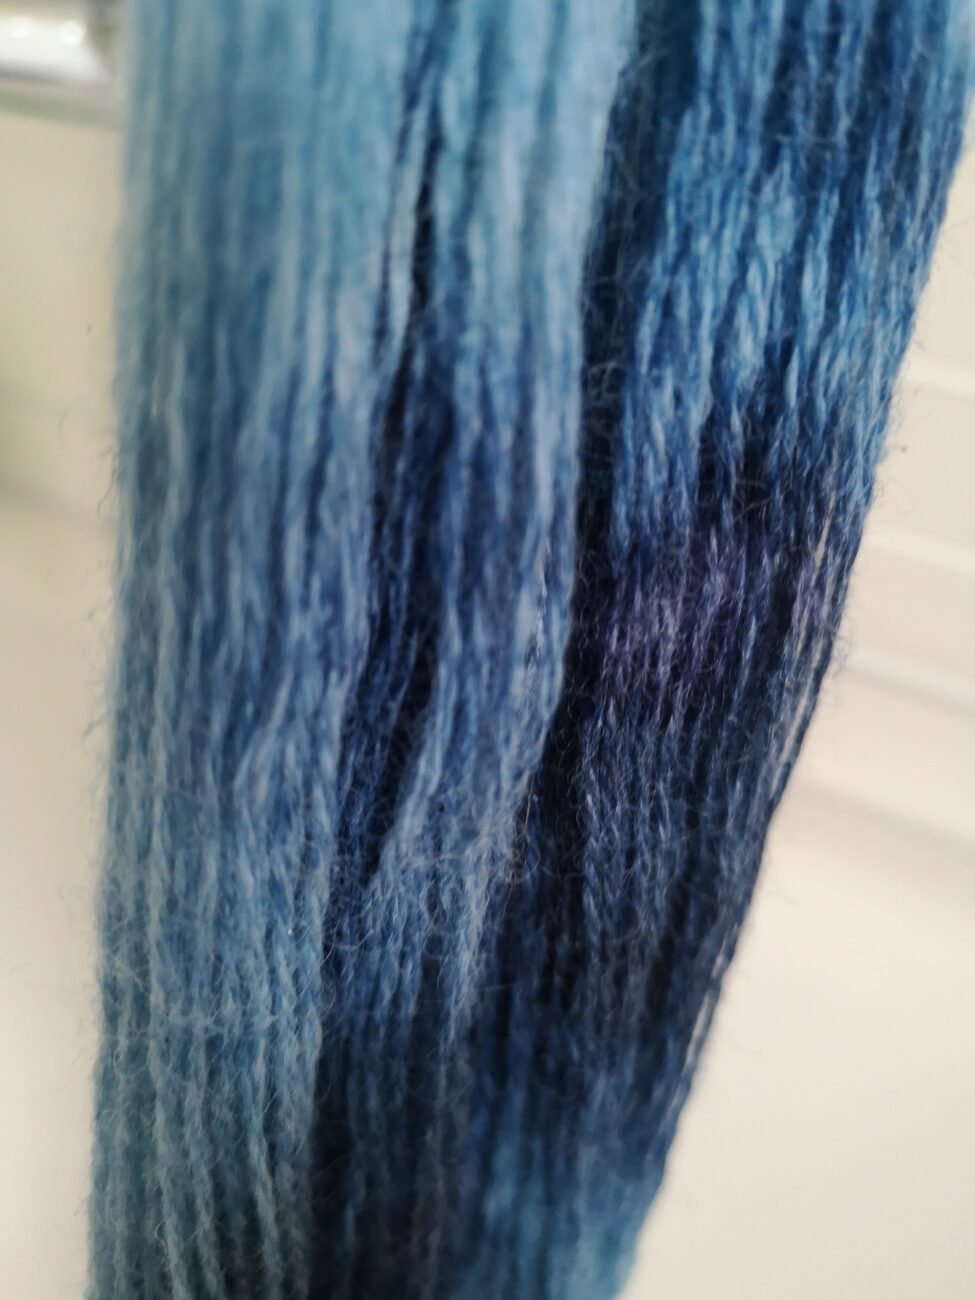
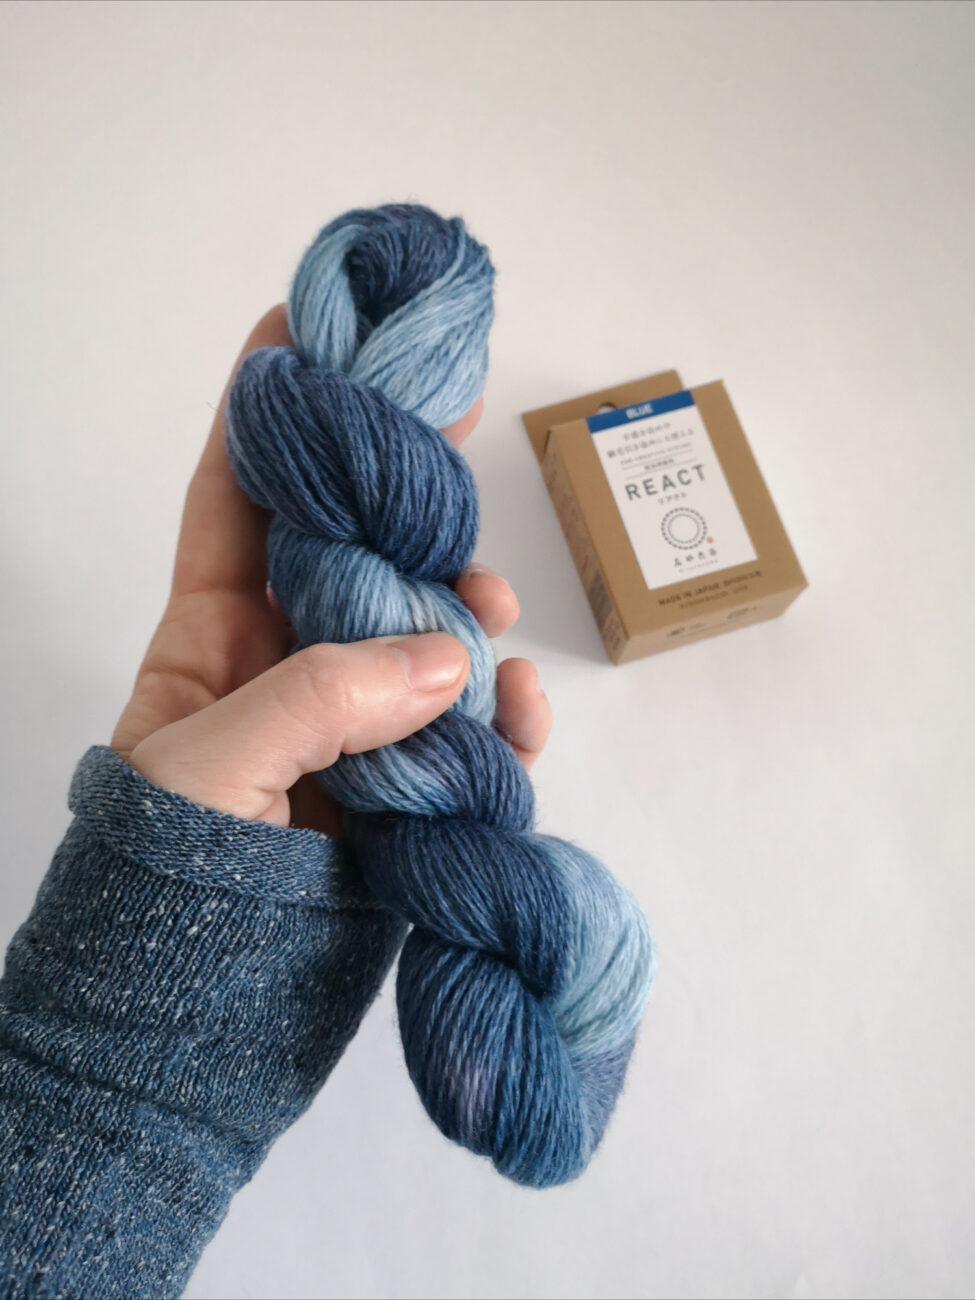
Photos: © Sandra Groll
Fifth step: After dyeing, you need to wash out the strands and hang them up. It is advisable to place collection containers under the strands to catch any leftover dyed water. And don't get confused: It's not the wet color that's final, it's the dry color! Once your skeins are dry, you can wind them back into a ball and knit them.
ATTENTION: In the pattern of ITO for dyeing in the bucket dye and water are mixed and then used for dyeing. However, this is mainly about dyeing textiles. So think carefully beforehand about which dye is best suited for your project. All steps are described in detail in theinstructionsttern.

via Instagram
The React dye is particularly suitable for creative dyeing techniques. This includes, for example, shibori, a Japanese way of dyeing similar to what we know as batik. Take a look at Instagram under the hashtag Shibori, where you'll get a good overview of the many ways to artfully dye textiles. With the help of the Bleeding Inhibitors you can also paint textiles. The Shibori Plastic Sheets you can in turn use for shibori. You can find out exactly how to prepare your materials for this in the enclosed pattern from ITO at React.
You can see that the possibilities for coloring are almost endless. You can dye or paint anything. And even if we have explained the dyeing of strands here with React - the procedure for Cold or Hot Dye is similar and you can always take a look at our pattern. Do you want to try one of the dyes now? Tell us about it - and of course share your results with us!

About Sophia
I'm Sophia, live in Hannover and since October 2020 I've been taking care of the blog posts, the newsletter, planning the podcast and coming up with actions for social media. By the way, I also happen to be a knitting addict, which benefits me at work.
Show all posts by Sophia
Thank you for your comment!
Please be patient until it appears on the site, as we approve all comments manually.