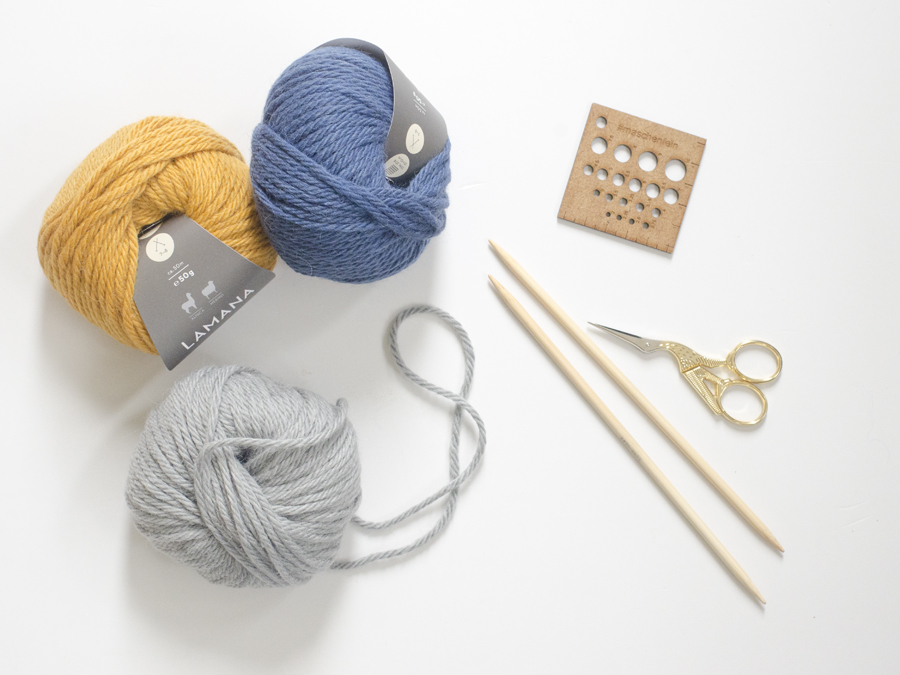
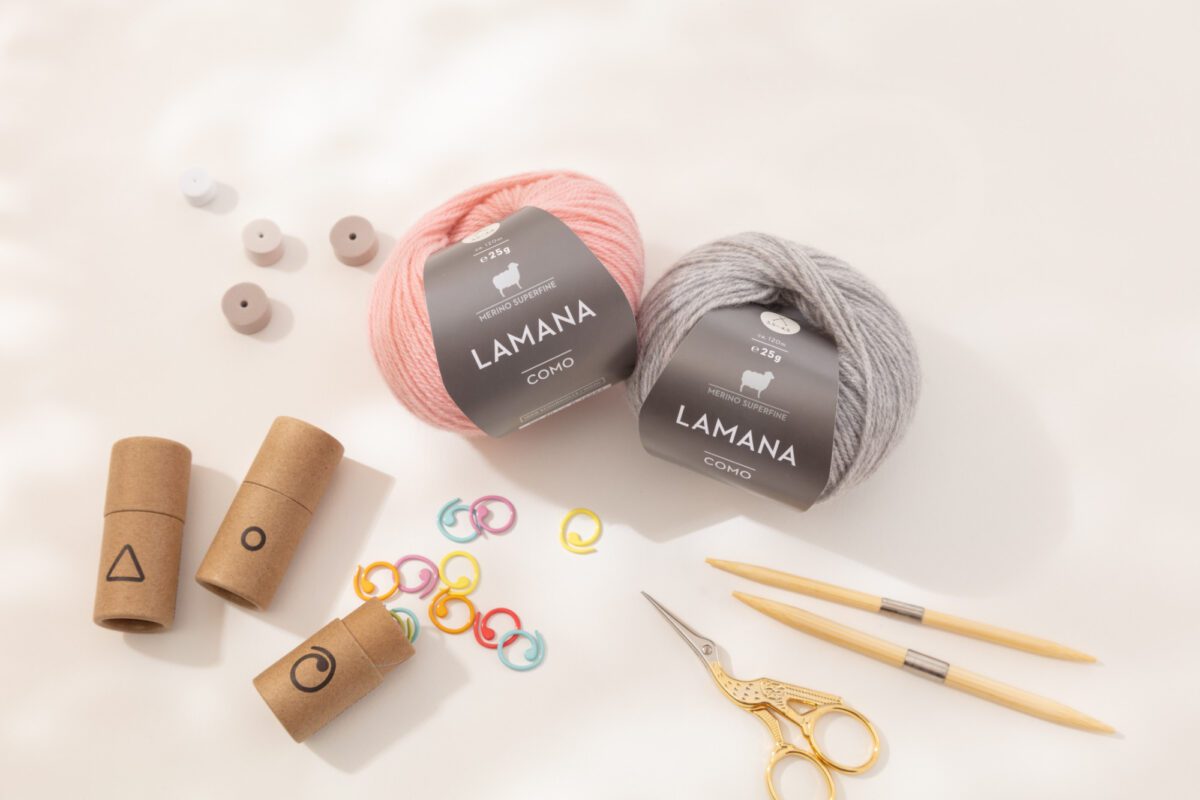
In the mood for spring? Here you can find spring yarns
  Esther Sweater Baby
 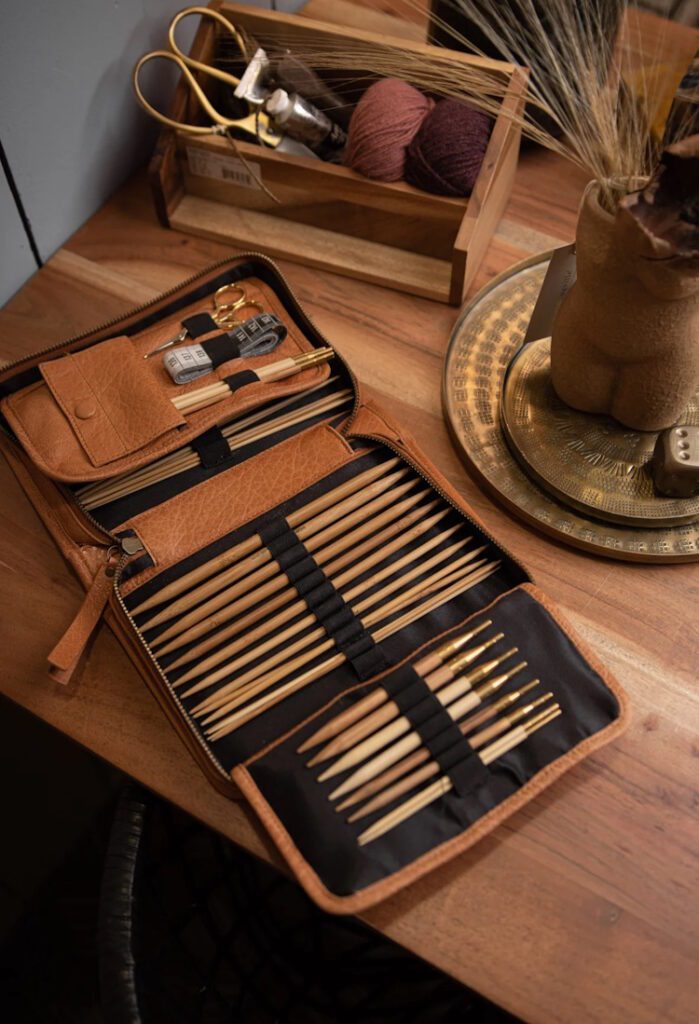 We have new Muud products in the store
  You can find all Maschenfein pattern here
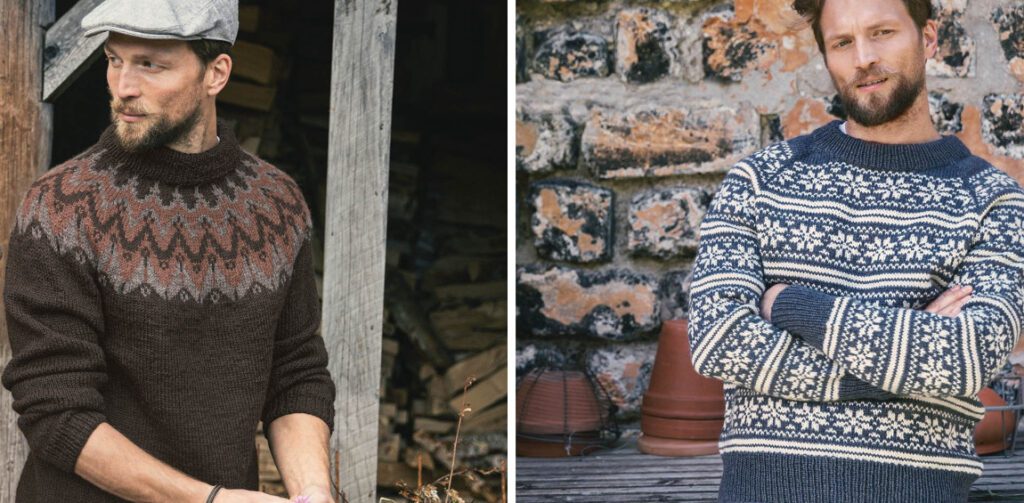
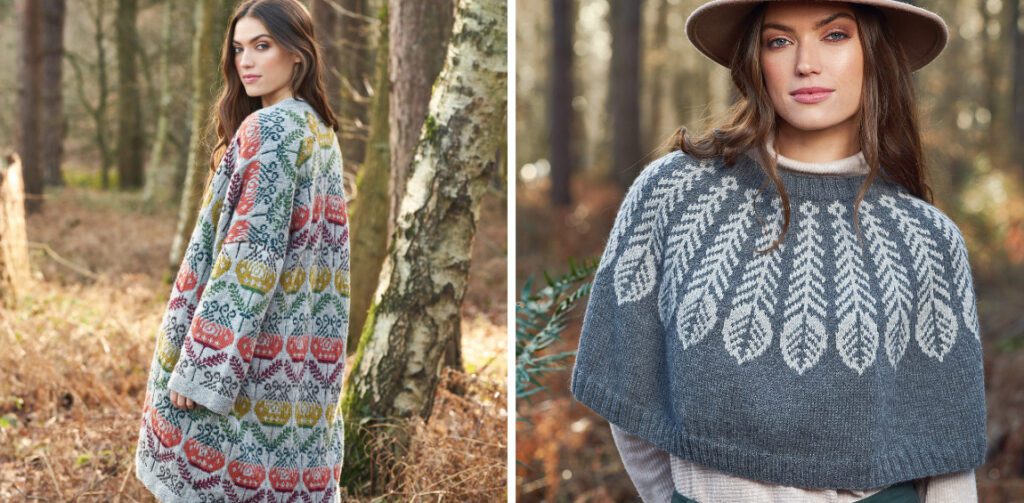
In our little theme month, we take you into the colorful world of knitting with multiple threads. Whether traditional Fair Isle from the Shetland Island in the North Sea, classic Norwegian patterns or your own ideas - the principle remains the same: When knitting so-called Jaquard patterns, color changes take place continuously within a row. You work with at least two colors at the same time. And we'll explain to you exactly how to do it.
In multicolor knitting, you work according to a counting pattern that specifies exactly how many stitches of which color are knitted. The yarn that is not being used at the moment is carried along behind the work. To prevent the knitted piece from stretching too much at the end, the unused yarn is crossed with the working yarn for longer stretches and thus virtually woven in and carried along. As a rough rule of thumb you can remember: From three to four stitches "rest" the unused thread should be woven in. By the way, the threads that are carried along behind the work are called tension threads or floats.
The start
The challenge in multicolored knitting is first of all to hold (at least) two threads at the same time and to work them. Here we present two variations. With a little trial and error, you'll soon find out which one suits you better.

Variant 1 Variant 2
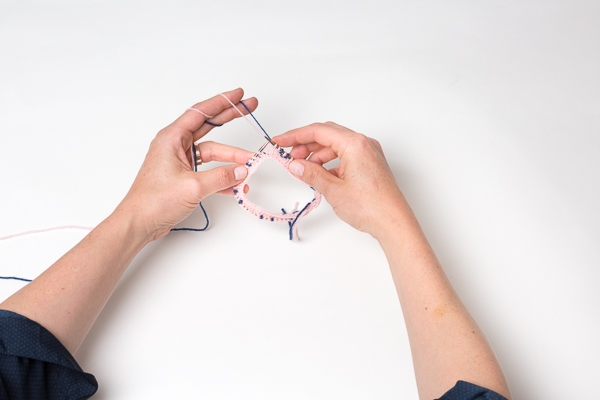
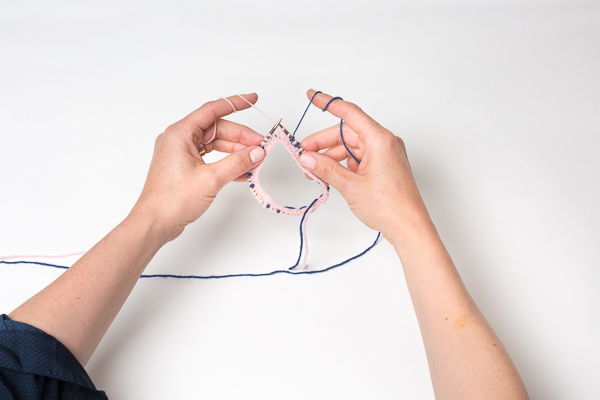
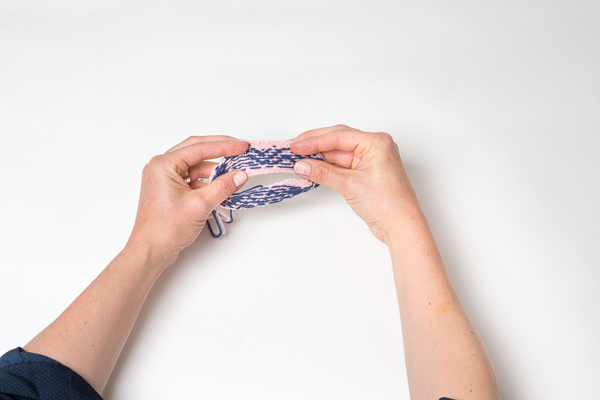
Variation 1: Both threads on the left hand
With your left hand, you hold both threads - distributed between your index and middle fingers. You can also use a knitting ring for this, but here opinions differ as to whether the ring worsens the thread tension or not. Some have also wrapped both threads around one finger. Just try it out!
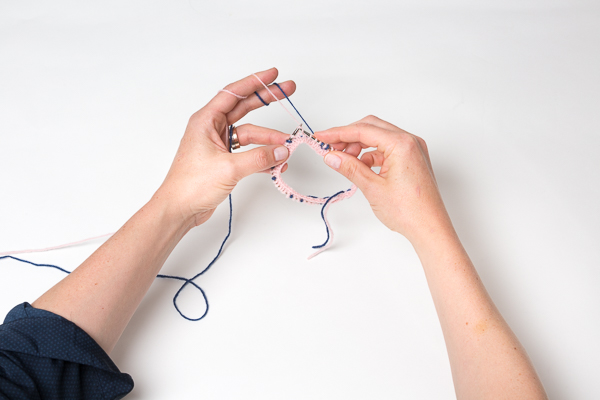
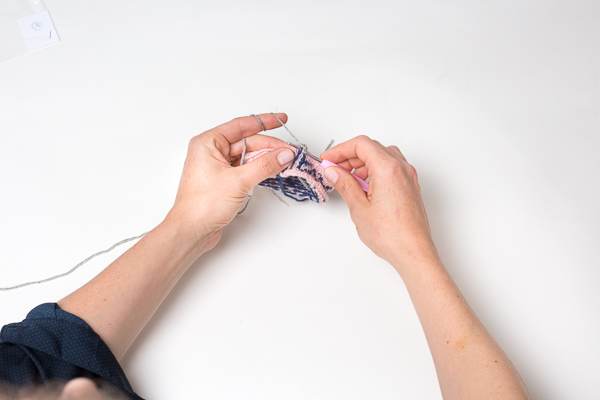
Variant 2: One thread left, one thread right
In English-speaking countries, it is customary to hold the working yarn in the right hand. Variant two is the international understanding among the methods of multicolored knitting 😉 You combine the continental (working thread in the left hand) way of holding the thread with the English one.
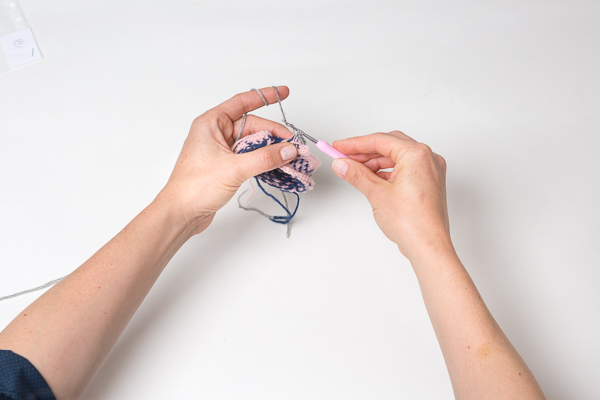
Work with the left working thread Work with the right working thread

When continuing to work, knit with the yarn indicated in the counting pattern (usually the stitches are knitted right). So you knit either as in the left picture with the front thread or as in the right picture with the back thread.
Our Tip:
Multicolor knitting requires some practice and trial and error. Using a sample of the pattern, you can find out the right needle size. It should be neither too small nor too large. Either your knitting will be stretched or the threads on the back will show through. So if in doubt, try another needle size.
Moving on...
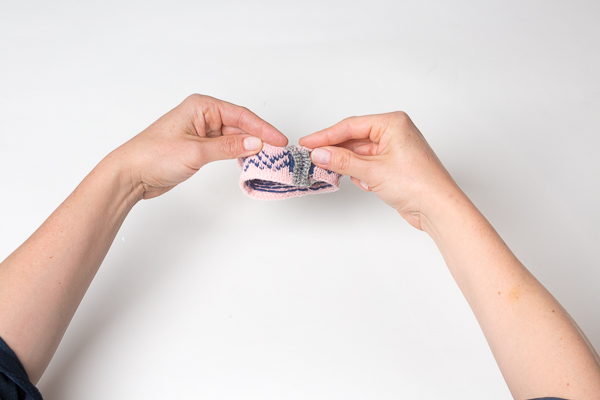
This is how multicolor knitting looks from the
frontWeaving in the rear working thread
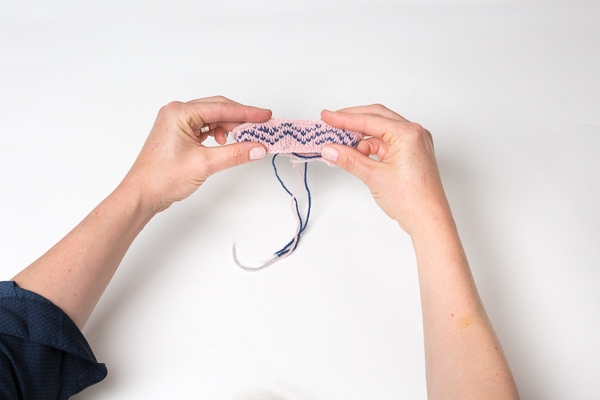
If you look at multicolored knitted sections from the front, nothing can be seen of the threads that are carried along (left picture). To prevent the knitted piece from contracting due to excessive thread tension, weave the threads together on longer sections (right picture). To do this, pull the back thread forward and knit the front thread under the back thread.
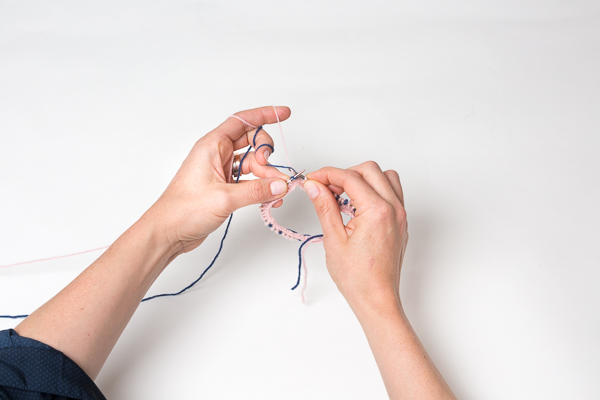
Weaving in the front working thread This is how multicolored knitting looks on the
reverse side
Weaving in the front thread is easier. Here you knit the back thread alternately once above and once below the front thread.
The Steeken
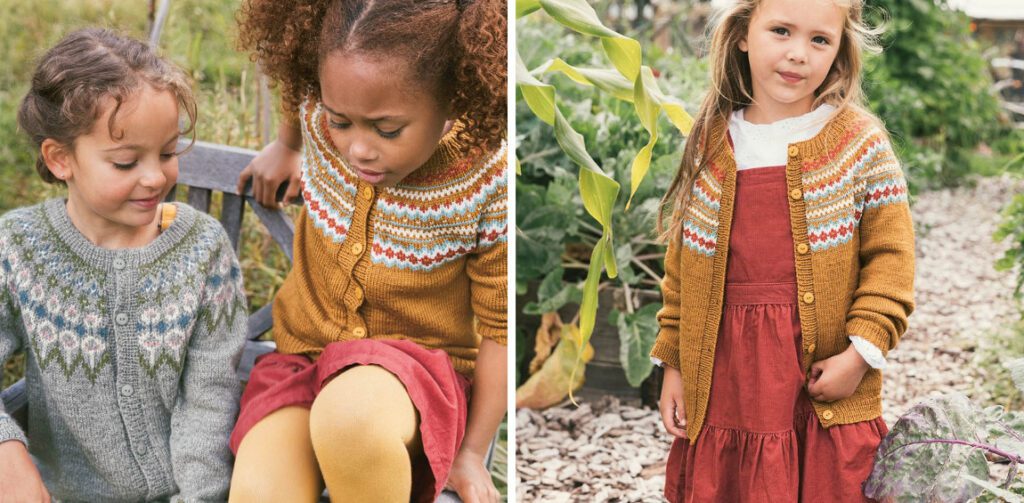
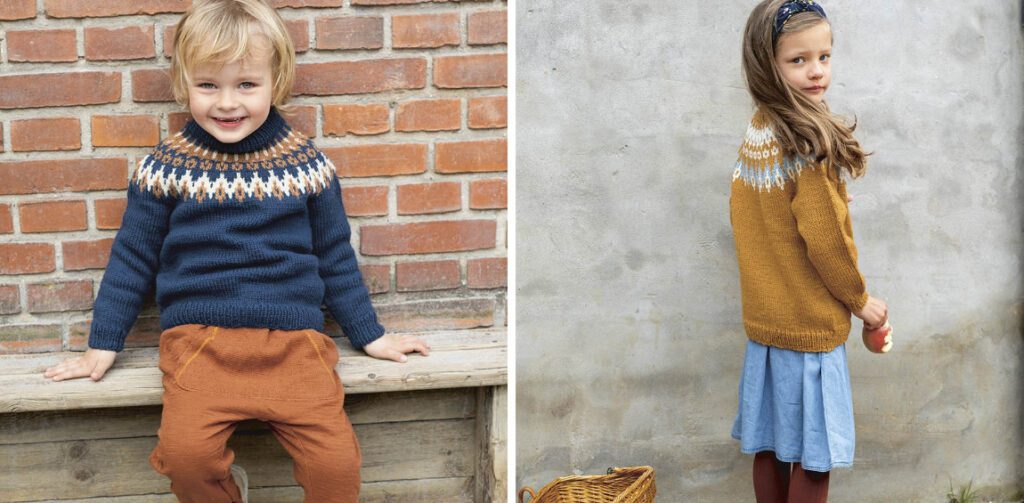
In our first article for our theme month "Multicolored knitting" we have already shown you a few designs. The interesting thing is that Norwegian and Fair Isle patterns are usually knitted in rounds - yes, even the cardigans! Because let's be honest: Hardly anyone wants to knit multicolored purl stitches. Well, no. Instead, there's another method, which is to slice the knit! (Adds at this point mentally like dramatic music, that would underline this step even better 😉 .)
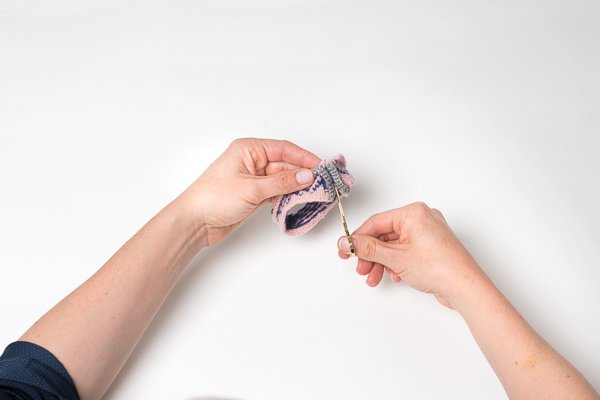
For the openings on your knitted piece - for example, neck or sleeve openings - insert so-called Steek stitches. These are where the work will be cut open later. To ensure that you don't run the risk of the edges rubbing open afterwards, we secure them with the help of a sewing machine, needle and thread, or a crochet hook. Safety first also applies to knitting! We also recommend that you practice steeking on the gauge beforehand. Not every yarn is suitable for this type of knitting or processing.
With the help of a crochet edge... ...you secure your opening against pricking up.
Here we explain how to secure with two crochet edges. Be sure to crochet all the legs of the center steek stitch. Crochet a crochet edge to the left of the center in the same way - please turn the work.
Your secured seam... ...is then cut open.
Now comes the step before which you should please NOT drink liquor, even if a little courage at this point is quite good. 😉 Once both crochet edges are worked, you can cut the middle bars of the center stitches that you can see between the two edges. Use a decent pair of needlework scissors to do this! The edge is then folded inward for serging, the button placket or sleeve is knitted on or sewn on, and the edge is then sewn inward with the help of a sewing needle. Now you may drink something from me.
Our Tip:
You can create a nice broken edge by knitting the first and last step stitches to the left or over two rows.
Doubleface
Multicolor knitting also includes the doubleface technique. The advantage over classic jaquard work: There is no "unsightly" back. Recently, for example, a cute baby blanket with bunny has been added. The trick with Doubleface: In one work process you knit two fronts - positive-negative patterns are created. In other words, a white bunny on one front appears mirrored and in the contrasting color on the second front.
In such a case, of course, you can not avoid knitting with two threads. But we can give you a little help. Sandra has recorded a video for her Baby blanket with bunny and explains how you can use the doubleface technique with only one thread at a time - one after the other. But see for yourself:

By loading the video, you accept YouTube's privacy policy.
Learn more
So, how does it look? Do you dare to start a multicolored knitted project now? We can only recommend it in any case - the somewhat greater effort and a few hours of practice are really worth it. You will be rewarded with a really great knitted piece. And if you need more inspiration: Another article with multicolored designs - also from Maschenfein - is already in planning. And there's something for your ears, too!
The content of this blog post comes from our basic book "Knitting Stitch by Stitch". In addition to the information on multicolored knitting, many other techniques are explained. You will also learn more about yarns and knitting tools. With matching projects you can apply your newly learned knowledge right away.
About the book "Knitting stitch by stitch" (Attention, the book is currently not available, but will soon appear in a new edition!)